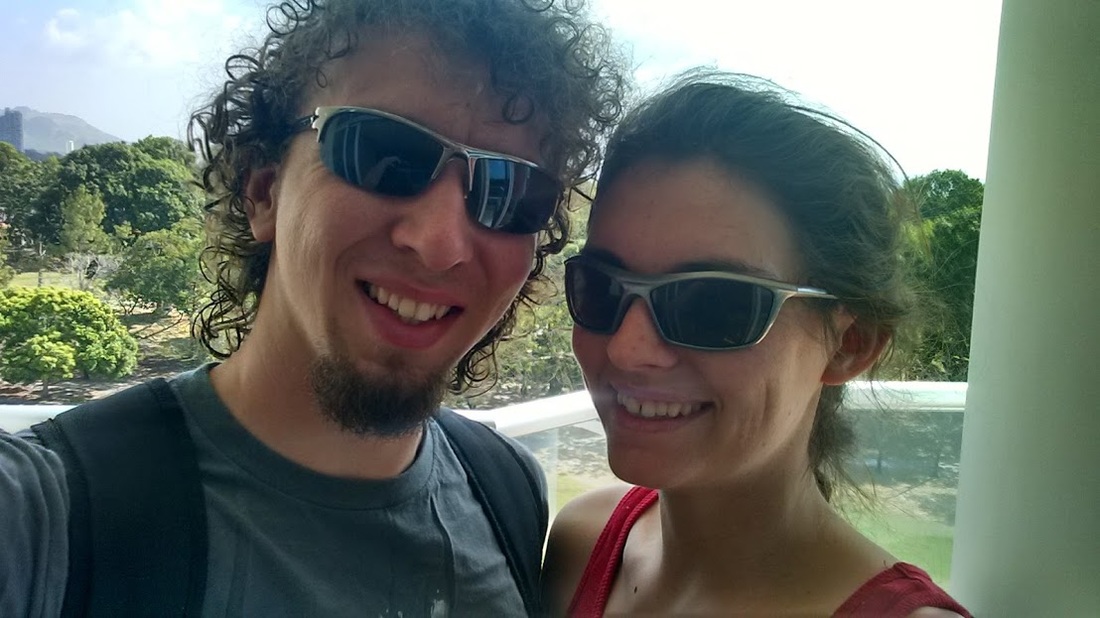
Just a few days ago, Hubs and I hitched a ride to the airport. Two flights and 18 hours later we were (half sleeping!) in a beautiful little condo overlooking the Pacific ocean.
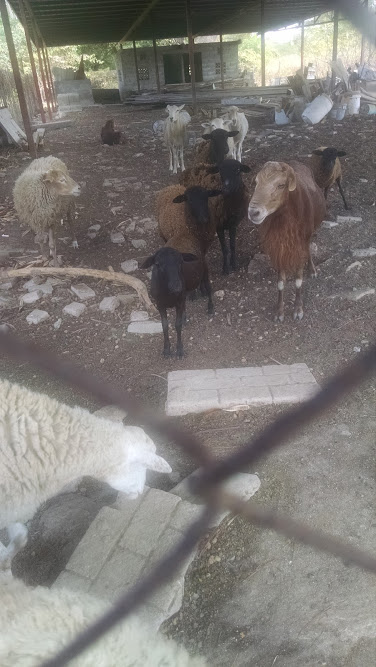
The first day here, we walked to town (an hour+ walk... NOT recommended in the hot Panamanian sun with flip flops!) and got some groceries. I was delighted to find some goats and sheep on our way into town. Animal breeds here in the warmer climates can be completely different from those in Michigan.
They wanted to come see me!
Animals aren't the only exotic thing to see here in the tropics. I recognized some of the plants we had seen growing in Barbados on our honeymoon. At the end of the day I was able to identify some of them using my plant book and the internet.
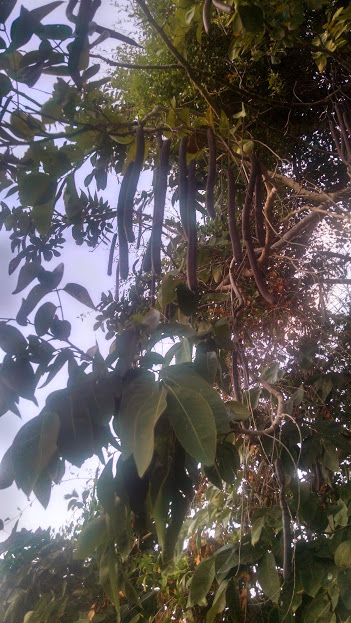 Cassia Fistula (Golden Shower Tree) | 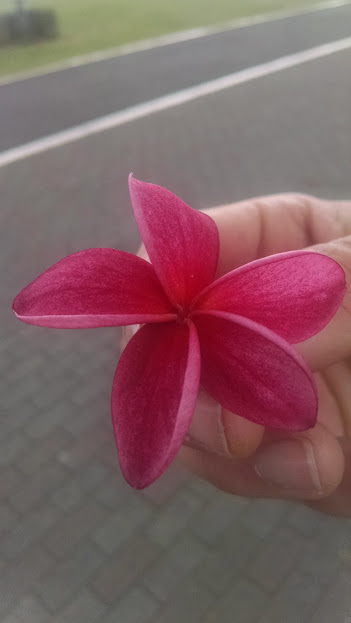 A Type of Plumeria (Frangipani) |
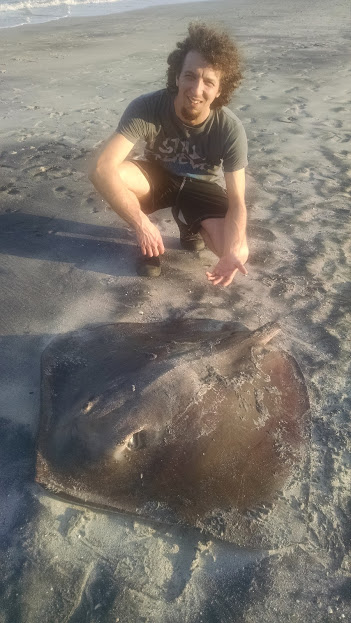
Toward evening, we were able to spend some time on the beach, swimming in the salt water and picking up interesting sea shells. While walking, we found a stingray that had washed up on the beach. Someone (or something!) had cut the tail off by the time we found it. I had Hubs stand behind it to give you an idea of the size. It was enormous!
It has been a beautiful few days we've spent here. After all of the walking, swimming and a little sun burn, I'm exhausted at the end of the day. I look forward to sharing more of our trip soon!
-Bethany
-Bethany


 RSS Feed