the Renaissance Housewife
  • Home
  • Topics
    • Saving >
      • Kitchen >
        • Food >
          • Recipes
      • Bath & Laundry
      • Medicine Cabinet
      • Office
      • Electricity
      • Gardening
      • Foraging
      • Animals
      • Weekly F. A.'s
      • Printables & Downloads
    • Earning
    • Investing
  • Books
  • About
    • RH Recommends
    • Newsletter & Updates
    • Travel
    • Beta Readers
    • Legal Stuff

How to Make a Planning Notebook

3/30/2015

0 Comments

 
Picture
When I was growing up, my mom kept a FlyLady notebook full of routines, menu plans, and other housekeeping information. I expanded this idea, and now have an old blue binder that I use for life planning and household management. Keeping goals, plans and records all in one place makes it easier to evaluate progress. Having phone numbers and other important information on paper is great for when the internet doesn't work. This kind of notebook is easy to make. 

Find a three-ring binder and some lined notebook paper. Find a three-ring hole punch to use on printed pages. I have dividers for the following sections:

Personal 
I keep the following information in the first half of my notebook.

1. Household Information: phone numbers, birthdays & anniversaries, routines and/or to-do lists.
2. Dreams & Goals: long-term goals (5-year, 10-year, someday), my ideal day, and short-term goals (yearly, quarterly, monthly).
3. Personal Development: people skills, productivity, and personality type info. I keep a summary of 7 Habits of Highly Effective People and a summary of Getting Things Done in this section.
4. Money/Finance: monthly budget. You can also keep your financial goals, investment ideas or other money-related information in this section.
5. Health & Fitness: nutrition information, workout plans, fitness goals and health records. Each month I try to take some measurements, weight and body fat percentage and write it in this section. It takes about 5 minutes. You can also keep a log of exercise and/or weight lifting records here. Keeping records will tell you if you're making any progress and help you keep on track to meeting your fitness goals.

Homemaking
 I keep the following sections in the last half of my notebook.

1. Cleaning: Daily, weekly, monthly, seasonal and annual cleaning check-list.
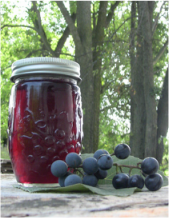
2. Gardening: garden plans, seed inventory, dried herb inventory, quarterly canning checklist, planting instructions, garden records from previous year, other gardening information.
3. Cooking: recipes (only complicated ones too big to fit on a recipe card), freezer inventory, pantry inventory, other cooking information.
4. Decorating: home decorating information, pictures of homes that I like (a physical Pinterest board).
5. Relationships: mostly notes from marriage books that Hubs and I have read together. You could also include date ideas here.
6. Foraging: information on identifying plants and trees in your area. 
7. Goats/Animals: breeding and other care records, information on hoof trimming and other husbandry.

And that's all folks! It's good to review your notebook once a month, or at least once quarterly. Sometimes I make copies of this information and put it in other places: menu plan gets posted inside a kitchen cabinet, phone numbers should be beside the phone, cleaning checklists by the cleaning cart, etc. Most of my recipes are in a recipe card holder in the kitchen.

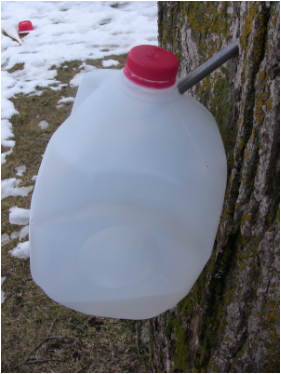
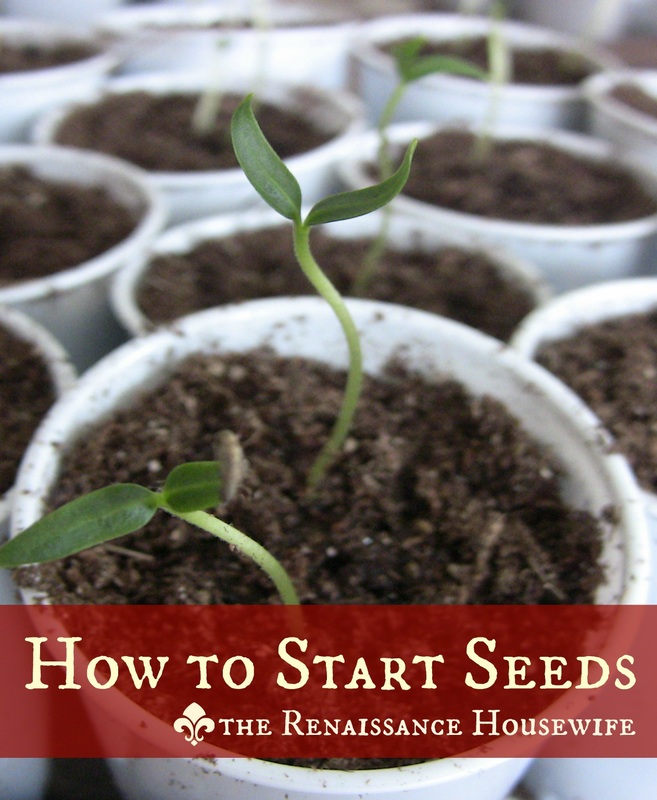
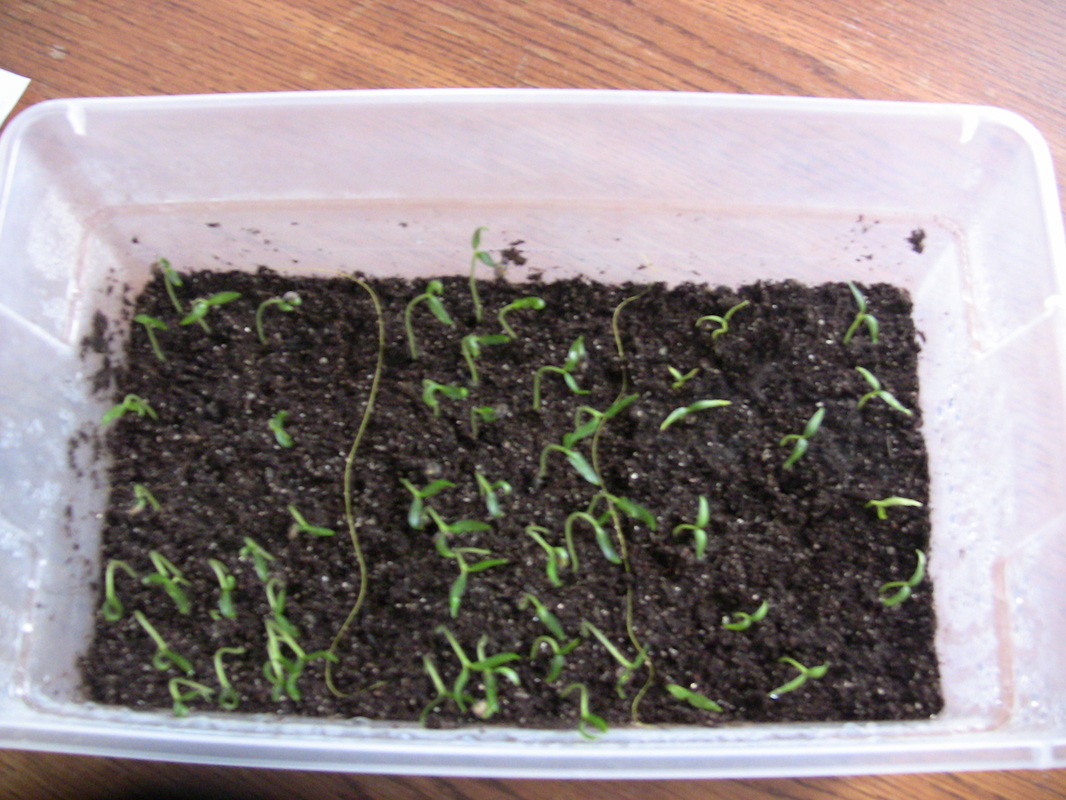
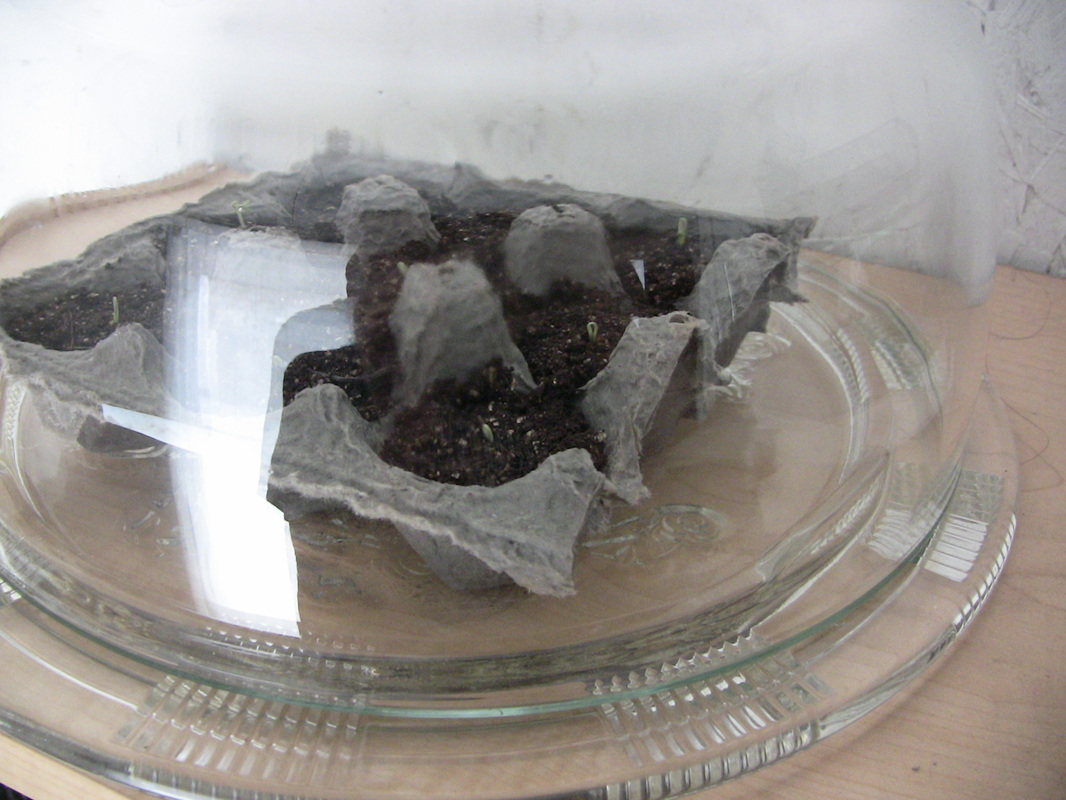
In addition to this notebook, I also have a small monthly planner from the dollar store. I use this to scribble "unofficial" records in- things like when the maple sap is running or how long it took for the tomato seeds to sprout. This way I don't have to get out my big notebook if I want to make a quick note of something. Later I transfer the scribbles into the appropriate sections if necessary.

Another thing you may want to keep is a calendar of events. Hubs and I don't have very many events to write down, but this may be helpful if you have children.

How do you plan and keep organized?

0 Comments

Kentucky Coffee Tree Beans

3/25/2015

3 Comments

 
Picture
I have never been great at identifying trees. However, last year I applied myself to study and added three or four new trees to my vocabulary. This one, the Kentucky Coffee Tree, was an easy identification.

Kentucky Coffee trees are relatively rare and grow in some of the mid-Eastern states of the US, including the lower half of Michigan. I have seen two so far- one on the side of the road and one used in town as an ornamental.

The bean pods of this tree are hard to mistake. Unlike the Honeylocust, Catalpa and other bean trees, the Kentucky Coffee Tree has short, stubby beans... not long dangling ones. In addition, this tree hardly has foliage for half the year. Its Latin name actually means "naked branch" because of this weird trait.
Picture
The pods have thick stems that hold them tight to the tree all winter. This makes them easy to identify in the spring!

After you've collected some pods, Break them open and collect the seeds. The inside has a sticky film, so the beans will probably need to be washed off. Afterward they can be slowly roasted (300 degrees for 3 hours) in the oven. This is important- you can't eat the un-roasted beans because they're poisonous! Some sources say the are poisonous in large quantities as well. But for our purposes we will not be consuming large quantities.

If you don't want to eat them, the beans make very nice beads! Polish, coat with a sealant and then drill a hole through the middle.

When the beans are roasted, it's time to grind! I don't have a real grinder, so I used my handy-dandy Vitamix dry container. 
Picture
The ground-up beans can be stored in an airtight container. Unscrew the lid for a wonderful aroma!!! If you pour boiling water over the grounds they produce a wonderful, albeit weak coffee-ish drink. I'm not a coffee drinker, but I did like this "coffee".

Happy grinding!
-Bethany
3 Comments

It's Pop Can Season!

3/24/2015

2 Comments

 
One of my favorite things to do is pick up pop cans while on a walk or bike ride. It's like free money! Now that it's getting warmer, I'll be collecting more and more cans. For your reading pleasure and for my own records, I'll be keeping a tab (no pun intended) on my pop can earnings. You can find my earnings thus far in the blog sidebar.

Also- how are you all doing on the Bookshelf Reading Challenge? I've put up a review for March on Goodreads, so go ahead and check it out!

Til tomorrow,
-Bethany
2 Comments

Making the Most of a Chicken

3/20/2015

0 Comments

 
Picture
Do you like eating chicken? Did you know that there are many ways to use a leftover whole chicken? Don't let any of it go to waste!

Often on the weekend I will cook a whole chicken in the crockpot. The chicken goes in, with a some onions, potatoes and carrots, along with some salt, poultry seasoning, and a quart or two of water. The chicken is cooked on high for a few hours until it is done. 

Before serving, I lift the chicken out of the crockpot and onto a plate. This makes it easier to cut and serve- no splashing fat and broth all over the place whilst trying to fish out a carrot or potato. Then I pour the broth into a jar, and keep it in the fridge until I make soup. There are no grisly bits of chicken in the broth, because we haven't cut into it yet.

When the meal is over and we've eaten our fill, I put plastic wrap over the plate of chicken carcass and stick it in the fridge if I don't have time to part it out right away. Otherwise, I do the following:

1. Pick off the meat for use in other meals. All cooked and ready to go!

2. Pick off the skin and fat to save for rendering fat. I use this free fat to grease my egg pan in the morning, instead of buying butter. You can save the fatty pieces in a bag in the freezer until you're ready to render. There will also be some fat that rises to the top of the above-mentioned broth. You can render this as well.

3. The rest of the bones and carcass, which usually includes the neck and wings, are thrown in a freezer bag. When I have enough bones saved up, I make bone broth in the pressure canner. For those who butcher their own chickens, you can also save and use chicken feet for making excellent bone broth.

Before I discovered this method, I dreaded parting out a chicken to salvage meat and bones. I'd spend an hour it seemed, fishing around in a greasy, oily crock pot trying to find some meat. It hardly seemed worth it! Now I find it quicker and easier to be thrifty with my chicken.

What do you do with your leftover chicken carcass?
0 Comments

Harvesting Wild Cherry Bark

3/18/2015

1 Comment

 
Picture
Here we are, still in the midst of maple sap season and it is a great time to be collecting tree bark for medicinal use! Wild Cherry bark is an expectorant (helps you cough up phlegm during a cold) which makes it great for using in cough syrups, teas, and other herbal preparations.

The hardest part to harvesting wild cherry bark is finding a tree. It's hard to identify trees in the winter, so if you don't know where one is, wait until summer and keep your eyes peeled. Chokecherry trees are similar to wild cherry, but wild cherry is a big large tree and chokecherries are more akin to shrubs. I found several large wild cherry trees last summer and noted the location so I could find them in early spring/late winter.

If you think you've found a wild cherry but aren't sure, break off a live twig (one that stretches and peels; a branch that snaps off is dead) and sniff it. It will smell like cherry. My tree smelled like cherry with a hint of tomato.

Pick a young branch or two and cut off with pruning shears. Bring them in the house.

After you've come inside, you can cut off the budded ends of the branches. I put my ends in a vase with some sugar water. Maybe they'll grow some leaves or flowers for me!
Picture
Using a knife (I used a sharp paring knife), scrape off the very outer layer of bark to expose the bright green bark underneath. This is the medicinal part that you want. If it's not green, go back to the tree and try again.

Scrape off the green bark with your knife. 

You can use the green bark fresh, or you can use it dried (but DON'T get it too hot!). I am going to dry mine and use it in a cough wine. Wine or tincture is a great way to use this herb because heat destroys the medicinal qualities.

Happy bark-scraping!

-Bethany
1 Comment

How to Transplant Seedlings

3/16/2015

0 Comments

 
Picture
Today we'll be transplanting some small plants that I grew from a seed. This is my first time starting tomatoes and peppers from seed, and this is how I did it.

1. Assemble supplies. My supplies included:
     A. Plastic cups
     B. A syringe to carefully water the small transplants 
     C. A pin and small knitting needle to punch holes in the cups. 
     D. Extra seed starter to fill the cups.
     E. Trays to put the transplants in; I used pie tins and throwaway plastic takeout containers for this.
     F. You may also need a fluorescent light or grow light to hang over your plants. You don't NEED need this, but your transplants may be long and gangly without the extra light.

You can buy some seedling trays/containers at Walmart, but you can also use any small container with a few holes punched in the bottom. I found that it was cheaper to buy small plastic cups than the 'real' seed starting trays.

2. Prepare the cups. With my Walmart cups, I poked 3-4 holes evenly spaced in the bottom. First, poking from the inside of the cup outward, I perforated the plastic with a pin, then went through the holes again with a small knitting needle. I did this to all of my cups.
Picture
2. Place seedlings in the plastic cups with more seed starter mix. You could also use the wet seed starter from the seedling tray that you will be pulling the plants out of. But there probably won't be enough for all of your seedlings.

4. Place the new transplants in a tray to catch water. Use plastic or styrofoam trays. If you don't use trays with your seedling cups, the water will seep out of the bottom. 

5. Water each plant from the top with a syringe or two full of water. The first watering is the hardest, because your soil is loose and easily displaced. When you have watered the seedling once, the soil will pack and it will be easier to water from the top, should the need arise.

6. Set the transplants underneath a fluorescent light, moving the light as close to the plants as possible. My light is only a few inches above the plants. If you hang the light high above your plants, they will have a hard time absorbing it. They will grow long an gangly trying to get enough light.
Picture
A few last notes: 

Make sure to label your cups/containers. It's easy to tell a pepper plant from a tomato plant, but not so easy to tell apart a Roma tomato from a Beefsteak tomato. At least not to my untrained eye.

Also remember to water your seedlings. An easy way to do this is to "bottom water", or pour some water in the trays (as opposed to watering each seedling). The water in the trays will be sucked up into each cup, through the drainage holes you punched in the bottom. Seedlings dry out fast, so don't forget to water! If you do forget and your seedlings start to shrivel and keel over, don't throw them out right away. Water them ASAP! After a good drink, they may revive. 

Happy transplanting!
-Bethany
0 Comments

How to Make Maple Syrup

3/11/2015

0 Comments

 
Picture
It's that time of year again! The days are getting warm, the nights are still cold and maple sap is running! This year I don't have any trees of my own to tap, but I've been fortunate to be able to do it in years past. You don't need a whole forest of black or sugar maples to get started. You can start with the one our two trees in your front yard.

Tapping is super easy. Here's what you'll need:

Taps- pretty cheap on Ebay, or they might be available used if you look around.
Line- I got some plastic tubing at the hardware store. The tubing should fit snugly over your taps.
Drill & bit to fit the taps- if you don't own one, contact your nearest handyman. ;)
Hammer- probably have one around the house.
Buckets- A clean 5-gallon bucket will do. I had to buy a lid from the hardware store, but to get started you probably don't need a lid. It just keeps the bugs and bark out.

The first time I decided to tap trees, the season was almost over and I didn't have time to make an elaborate set-up. For taps I cut up some pieces of old brake line, and hung some milk jugs off the taps. However, one of the three jugs kept falling off. I wouldn't recommend this setup, but it proves that you don't need a lot of fancy equipment.
Picture
My first attempt.
Instructions:

1. Drill a slightly upward-slanting hole 2" - 2.5" deep in each tree. Pick healthy trees that are at least 12" in diameter. For bigger trees, you can insert more taps; a 12-27" diameter tree can have two taps, and trees larger than 27" in diameter can have three taps.

2. Use the hammer to gently pound the taps into each hole.

3. Attach your line to each tap. Put the end of the line into your bucket. You only need one 5-gallon bucket for each tree. Therefore multiple taps can drain into one bucket.
Picture
The trickiest part of making maple syrup is boiling down the sap. The best idea is to find or make an outdoor burner so the steam can evaporate outside. Believe me, you don't want your kitchen ceiling dripping with condensation. When the syrup is concentrated a bit, you can bring it indoors to watch it more carefully.

There are many ways to make a maple sap boiler. My in-laws gutted out an old dryer and burned wood inside, while boiling the sap down in a canner on top of the dryer. They put it near the woodburner (and thus near the wood). Some people use propane, which is easy but not as cheap as free wood.
Picture
The dryer boiler.
When ready to boil, put a large/wide pot over your heat source and fill 3/4 of the way full. When it has boiled down to quarter- or half-full, add more sap. Try to keep it boiling even as you add more sap. When the sap has mostly boiled down and is a golden color but still liquid (not syrup-y), transfer to another smaller pan to finish off indoors.

In the kitchen, watch the sap closely. As it boils, it will take on a syrup consistency. The syrup will begin to "stick" to a spoon when it reaches this stage. Finish boiling when the temperature reaches 219 degrees F, or 7 degrees above boiling point.

And that's it! You can also filter the syrup through a coffee filter if you want. 

This is a great project to celebrate Spring with. Though it is time consuming, real maple syrup fetches a high price, so it might be worth it to make your own. As with any other hobby/project, the key to keeping it frugal is DON'T "invest" too much money too fast into supplies and a heat source. I would advise keeping it cheap the first season, at least, until you know that it is something you want to do every year.

Happy tapping! ...and pancake eating, and waffle eating, and french toast eating.... ;)

-Bethany
0 Comments

How To Start Seeds

3/9/2015

0 Comments

 
Picture
For some reason, when I was growing up I heard that it was hard to start seeds early and that it was a lot of work. Everyone I knew bought plants at the nursery or garden center. I tried starting my own seeds a couple times, but only got a few sprouts or wasn't disciplined enough to grow them to maturity. However, my mother-in-law has been starting seeds for a long time and has figured out a great way to do it. I am having a blast sprouting my own pepper and tomato plants, so I thought I'd pass this method along to you.

Tools & Supplies:

Seed Starter (I bought Jiffy brand from Walmart)
A clear plastic or glass container- shallow and wide, like a casserole dish or plastic tub
Seeds
Piece of glass to fit over the container (I used photo frame glass)

Directions:
1. Prepare your seed starter by mixing some water in. You want it a little muddy, but not soup.
2. Put your wet seed starter in the container.
3. Set the seeds on top of the soil about 1 inch apart (or whatever the packet says). It's best to only plant one kind or variety of plants in each container. I planted all of my peppers in one container (pictured below), but I didn't know that hot peppers take longer to sprout. You can see that my hot peppers (to the right) are more sparse than the other varieties. If you do plant different varieties together, be sure to keep track of which is which. I separated my container into sections with a bright yellow thread and labeled each section on the outside of the box.
4. Push the seeds under the soil with a toothpick.
5. Set the piece of glass on top of your container. Make sure that there are no cracks between the glass and the container where air can get in. You want to create a greenhouse effect, where the water in your soil mix evaporates, hits the glass, and then falls back down on the soil. No watering or keeping moist required.
6. Put the 'greenhouse' in a warm place, like on top of your fridge. DO NOT lift the glass before you are ready to repot.
Picture
A week or so later... !!!
Another fun and more aesthetic way to sprout seeds is to use a glass cake stand as your "greenhouse". I put my tomato seeds, one or two per section, in a damp cardboard egg carton.
Picture
Picture
Next week we'll discuss transplanting the seedlings and using a grow light. Happy seed-starting!

-Bethany
0 Comments

How to Make Vanilla Extract

3/6/2015

1 Comment

 
Picture
Here's an easy weekend project. Begin your career as maker of fine vanilla extract today!

Ingredients:
Bottle of bourbon or vodka
2 vanilla beans

Instructions: Cut the beans in half and drop into bottle of vodka/bourbon. Leave to set indefinitely.

As time passes the color of the bean soaks into the liquid, giving it a pretty golden brown color. The more surface area on your beans, the better. I scraped out my seeds for use in another project... perhaps ice cream or custard. I love custard. 

My cost for this extract was around $0.33 / oz. Compared to real (not imitation!) vanilla extract, it is a great deal. Plus I have heard that you can keep filling the bottle up without replacing the beans, which are the costly part of this project.

And when I open the bottle, it smells like vanilla ice cream!

Happy extracting! (vanilla, not teeth...)
-Bethany
1 Comment
    Picture

    Bethany

    Housewife, happy wife, and mama to one. :)

    Picture

    Picture
    The Housewife's Guide to Frugal Food
    How to Eat for $10.00
    ​per Week

    Picture
    The Housewife's Guide to Menu Planning
    A Weekly Menu to Save
    Time & Money
    Picture
    The Housewife's Guide to
    Frugal Fruits and Vegetables

    No Garden? No Problem!

    Watch Meals From the Bunker:

    Picture

    Check out my Youtube Channel!

    RSS Feed


    Picture
    Baby Girl's Birth Story
    Picture
    8 Cheap Ways to Eat Healthy
    Picture

    Categories

    All
    Animals
    Book Reviews
    Books
    Christmas
    Cleaning
    Clothing
    Cooking
    Couponing
    Education
    Ego
    Electricity
    Farmers Market
    Finance
    Foraging
    Frugal
    Frugal Accomplishments
    Frugality
    Garage Sales
    Gardening
    Gifts
    Grocery Budget
    Grocery Shopping
    Herbs
    History
    Hobby Farm
    Home Based Business
    Home-based Business
    Home Decorating
    Housekeeping
    Industry
    Languages
    Laundry
    Marriage
    Meal Planning
    Medicine
    Minimalist
    Network Marketing
    Organization
    Plants
    Product Reviews
    Quotes
    Recipes
    ROI
    Rv
    Sewing
    Simplicity
    Spanish
    Spending Report
    Travel

    Archives

    May 2021
    April 2021
    March 2021
    February 2021
    January 2021
    August 2020
    May 2020
    April 2020
    March 2020
    February 2020
    January 2020
    December 2019
    November 2019
    October 2019
    September 2019
    August 2019
    July 2019
    June 2019
    May 2019
    April 2019
    March 2019
    February 2019
    January 2019
    December 2018
    November 2018
    October 2018
    September 2018
    August 2018
    July 2018
    June 2018
    May 2018
    April 2018
    March 2018
    February 2018
    January 2018
    December 2017
    November 2017
    October 2017
    September 2017
    August 2017
    July 2017
    June 2017
    May 2017
    April 2017
    March 2017
    February 2017
    January 2017
    December 2016
    November 2016
    October 2016
    September 2016
    August 2016
    July 2016
    June 2016
    May 2016
    April 2016
    March 2016
    February 2016
    January 2016
    December 2015
    November 2015
    October 2015
    September 2015
    August 2015
    July 2015
    June 2015
    May 2015
    April 2015
    March 2015
    February 2015
    January 2015
    December 2014
    November 2014
    October 2014
    September 2014

    Full Disclosure & Disclaimer

    Picture
    Picture
    I get cash back for many online purchases including wedding gifts and Ebay stuff!

Powered by Create your own unique website with customizable templates.
Photos used under Creative Commons from dasWebweib, amanessinger, thewritingreader, diakosmein