Good morning, readers! I have some exciting news: my new book, The Housewife's Guide to Frugal Fruits and Vegetables, is finally published and available on Amazon! Other than finishing up launch details, my hours have been mostly spent deal-shopping and planning, which isn't terribly exciting to read about. In lieu of Frugal Accomplishments, I've written a long-overdue follow-up post about our cloth diapering experience.
I thought I would name this post "One Year of Cloth Diapering", but then I didn't. This blog is about being frugal, and there are several frugal ways to diaper your child. So.... this could be more accurately described as: What I Learned About Diapers In The Last Year.
Method 1: No Diapers
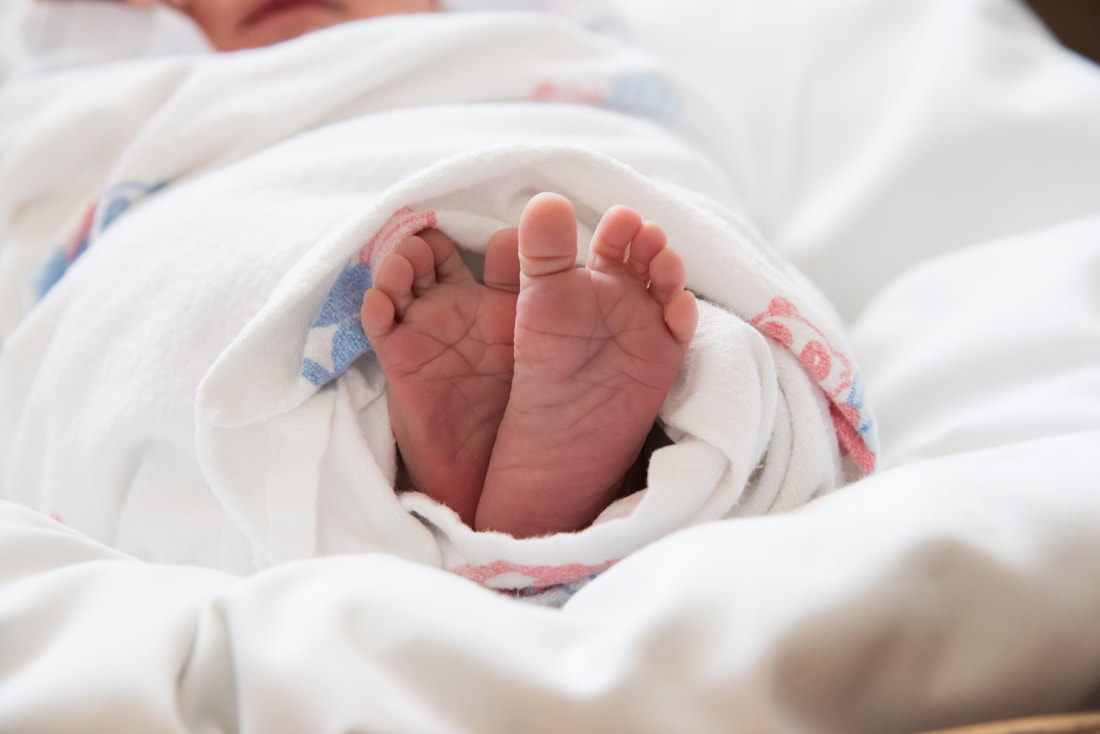
I learned about elimination communication ("early potty training", "infant potty training", EC) when I was a teenager, and I've always wanted to try it with my babies. Before Baby was born I read some articles and a book about it, and bought a $2.00 potty chair at a garage sale. After she was born, I was completely exhausted and terrified that I wouldn't be able to produce enough milk and my child would starve (a totally unfounded fear). I thought I would try EC later, like when it didn't hurt to sit down. Or when she was gaining weight for sure and I didn't have to worry about milk supply. Even so, I noticed that she did not like going in her diaper. Multiple times I would take off the diaper and get splattered with poop. It seemed like she intentionally waited until the diaper was off to poop. I could easily understand how EC worked for many people, from the first week.
I tried to do EC with Baby since she was born, but never really got the hang of it. At times I could understand her cues for pooping, but then she switched to pooping just once a week. Even when I saw her making a "poop face", by the time I got her to the potty, and took her diaper off, she had already pooped. Other times, I was sure that she was going to poop, and sat her on the potty for five minutes or more with no results (if you're wondering, five minutes is a long time to hold a five-month-old upright on a potty chair). I felt like this was a complete waste of time.
When I did get her to go on the potty, it wasn't because she understood my cues; it was because I anticipated her "needs" and got there fast enough. I thought the point of EC was so the baby would wait to poop. Mine never did. I still sat her on the potty off and on, and she pooped and peed in it, off and on. But it wasn't because she was "trained". Since we started using disposable diapers at night (read more about that below) she hasn't gone in the potty at all, even though I sit her on it now and then.
EC is still something I would like to try for the next baby, but I'll probably buy a better infant potty and start right off the bat. And I'll probably read the book again, because clearly I was doing something wrong.
Method 2: Free Baby Shower Diapers
We didn't buy any disposable diapers until Baby was around six months old. I had enough baby shower diapers to last until three months, plus some that she grew out of before she could use them. When we began cloth diapering, the last box of size 3 diapers lasted us for many, many months. I've heard that many stores don't take diaper returns, so you might as well use them or donate them.
I thought I would name this post "One Year of Cloth Diapering", but then I didn't. This blog is about being frugal, and there are several frugal ways to diaper your child. So.... this could be more accurately described as: What I Learned About Diapers In The Last Year.
Method 1: No Diapers
I learned about elimination communication ("early potty training", "infant potty training", EC) when I was a teenager, and I've always wanted to try it with my babies. Before Baby was born I read some articles and a book about it, and bought a $2.00 potty chair at a garage sale. After she was born, I was completely exhausted and terrified that I wouldn't be able to produce enough milk and my child would starve (a totally unfounded fear). I thought I would try EC later, like when it didn't hurt to sit down. Or when she was gaining weight for sure and I didn't have to worry about milk supply. Even so, I noticed that she did not like going in her diaper. Multiple times I would take off the diaper and get splattered with poop. It seemed like she intentionally waited until the diaper was off to poop. I could easily understand how EC worked for many people, from the first week.
I tried to do EC with Baby since she was born, but never really got the hang of it. At times I could understand her cues for pooping, but then she switched to pooping just once a week. Even when I saw her making a "poop face", by the time I got her to the potty, and took her diaper off, she had already pooped. Other times, I was sure that she was going to poop, and sat her on the potty for five minutes or more with no results (if you're wondering, five minutes is a long time to hold a five-month-old upright on a potty chair). I felt like this was a complete waste of time.
When I did get her to go on the potty, it wasn't because she understood my cues; it was because I anticipated her "needs" and got there fast enough. I thought the point of EC was so the baby would wait to poop. Mine never did. I still sat her on the potty off and on, and she pooped and peed in it, off and on. But it wasn't because she was "trained". Since we started using disposable diapers at night (read more about that below) she hasn't gone in the potty at all, even though I sit her on it now and then.
EC is still something I would like to try for the next baby, but I'll probably buy a better infant potty and start right off the bat. And I'll probably read the book again, because clearly I was doing something wrong.
Method 2: Free Baby Shower Diapers
We didn't buy any disposable diapers until Baby was around six months old. I had enough baby shower diapers to last until three months, plus some that she grew out of before she could use them. When we began cloth diapering, the last box of size 3 diapers lasted us for many, many months. I've heard that many stores don't take diaper returns, so you might as well use them or donate them.
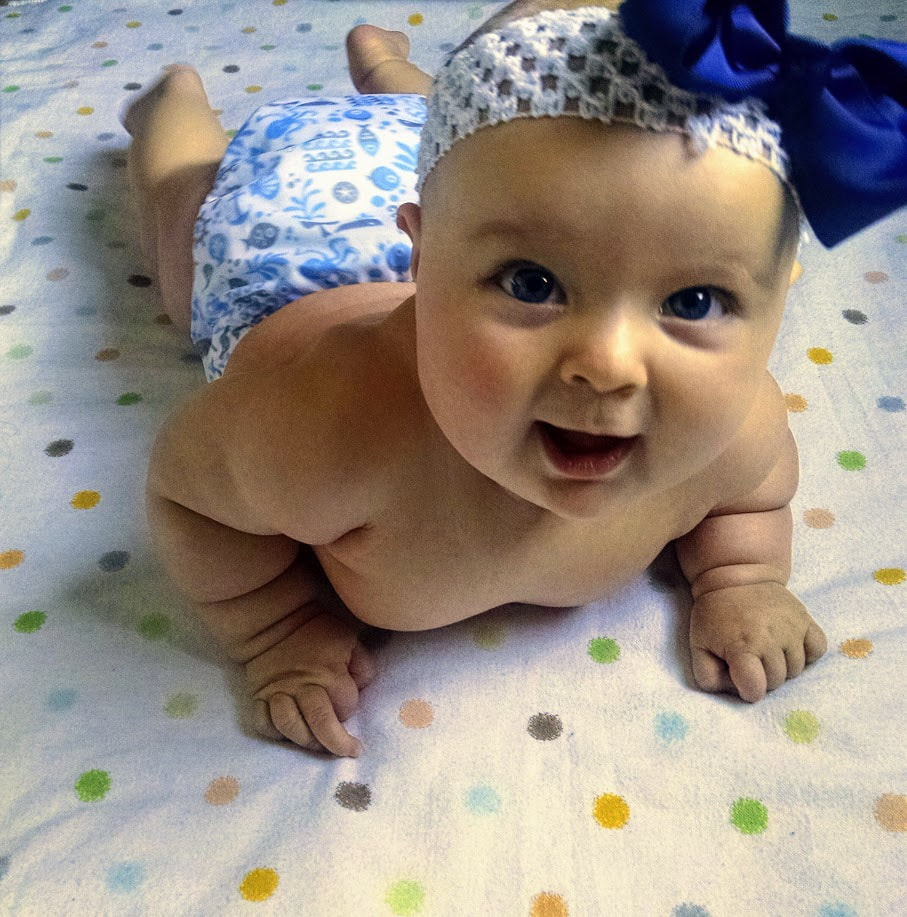
Method 3: Cloth Diapers
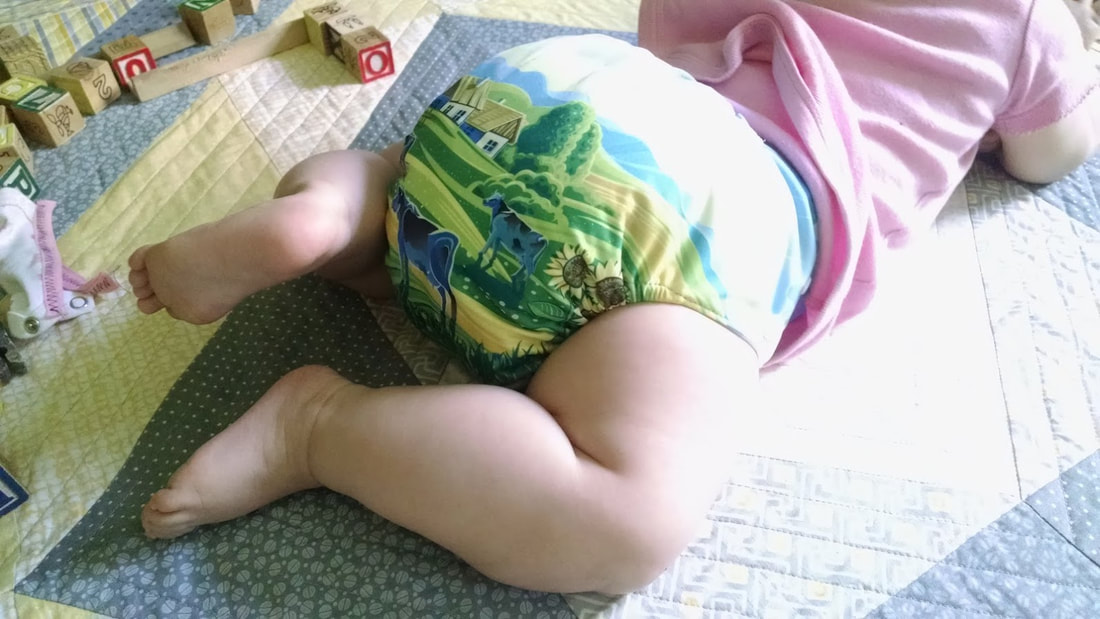
When Baby was two months old, I started experimenting with different cloth diaper types. Since she was a heavy wetter, I felt like cotton prefolds didn't work very well, and kept her skin wet all of the time. I decided to buy Alva pocket diapers for the majority of my stash. The single microfiber insert that each diaper came with was not enough to keep her dry for long, so I backed it up with another bamboo-covered microfiber insert. (Note: I didn't realize that the bamboo inserts were not 100% bamboo. I wouldn't recommend buying these, as they don't clean very well and aren't worth the $2.00 per insert.)
This system worked very well for a long time. Eventually I tried using hemp inserts to back up the microfiber, instead of "bamboo". The hemp worked so well that I used it for "night time diapers". I had a rotation of four black and white diapers designated especially for overnights. These were stuffed with one microfiber insert on top, and a hemp one on the bottom. A few months later, I had to start adding a "bamboo" insert between the hemp and microfiber for extra absorbency.
The hemp inserts are something I would recommend to every cloth diapering mama. The clean well, last a long time and hold a LOT of moisture. They also hold their value well if you want to resell. The only drawbacks to hemp are that it takes an ETERNITY to air dry (two or three days) and it costs a little more up front ($3.50 or more per insert). Hemp inserts can be used with pockets, prefolds and covers, or even all-in-one diapers, so they're very versatile.
Our cloth diapering game changed—for the worse—when Baby started eating solid foods. I had a harder time keeping diaper rash at bay. Our water pressure wasn't good enough for an effective sprayer, so I had to dunk and swish all of our pocket diapers (I did figure out a better way to do this... read on). It took me about 10 minutes from start to finish. I had to use rubber gloves, a spatula, and four or five flushes to get all of the poop out of the creases in the elastic leg holes.
At this point, the weather warmed up and I started drying our cloth diaper things outdoors instead of indoors. Some of the PUL started to deteriorate or even delaminate on our diapers because of too much sun exposure. I then moved the pocket shells back inside to dry, while only drying the inserts outdoors (our house is terribly humid in the summer, so it's almost impossible for inserts to dry indoors during that time). I read somewhere that warm water is bad for diaper elastics, so I started washing in cold water only. This is when our real problems started.
Diaper rash problems went from bad to worse. One day Baby even had an ammonia burn, and I said, "This has to stop!" I put her back into disposable diapers for a week while I stripped all of her diapers. I thought maybe the buildup was caused by using cheap Xtra detergent, so I switched to Tide. The diapers definitely smelled better, but the "bamboo" inserts still had a faint ammonia smell to them. I did a little more research and started washing in warm water again. I haven't had stink issues since switching back to warm water, so I think the cold water wash is what caused build up in our diapers.
During this time, I re-evaluated how I "did" cloth diapering, and even if it was worth continuing. Baby was starting to pee out of her nighttime diapers, and there was not room to stuff four inserts into one pocket shell. The four black and white night time diapers were cracked and delaminating at this point anyway, so I decided to put her in disposable diapers at night. I sold the "bamboo" microfiber inserts on Ebay and bought flour sack towels ($0.78 each) at Walmart to replace them. The flour sack towels clean better, dry faster and are far more economical. The only downside is the absorbency (which is just okay) and the fact that they are a bit thicker than other inserts. Lastly, I bought a fleece throw blanket for a couple dollars and cut it up into very large liners. This, too, was a good idea. The liners are large enough to catch ALL of the poop, so I only have to swish-and-dunk a flat liner instead of trying to flick poop out of elastic creases with a spatula. It only takes a few minutes now to clean out a diaper, plus the fleece helps keep diaper rash at bay. I have hardly used any rash cream since adding a large fleece liner to every diaper.
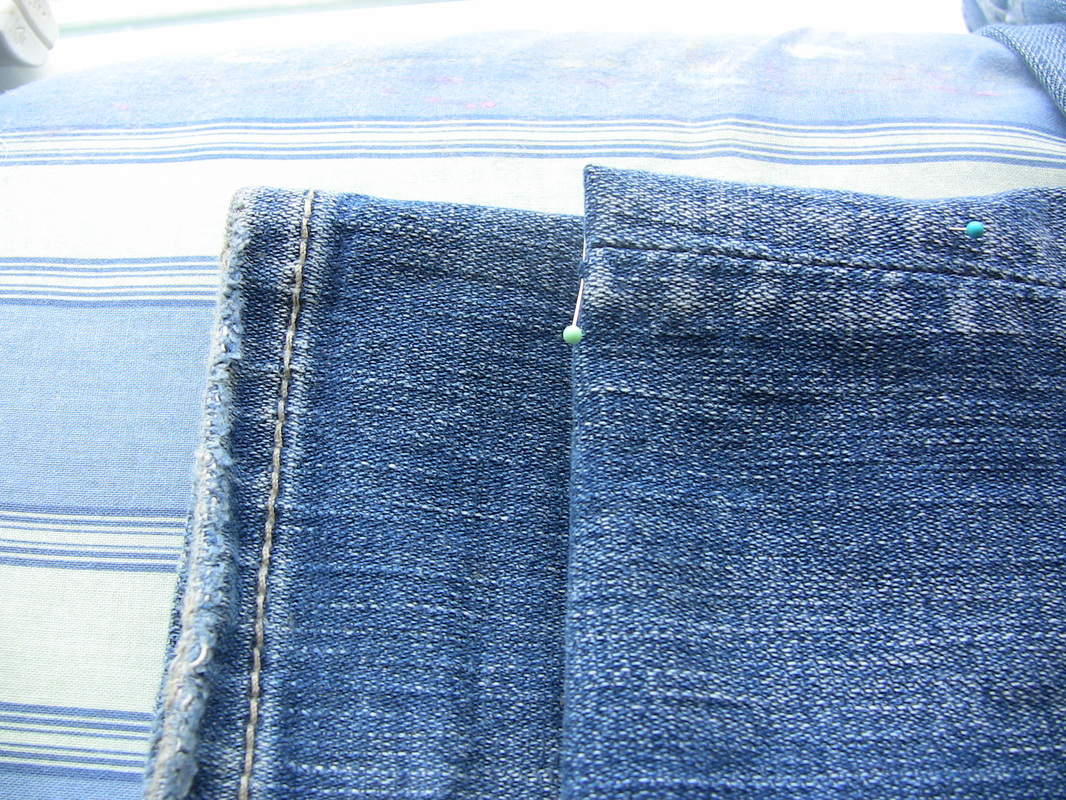
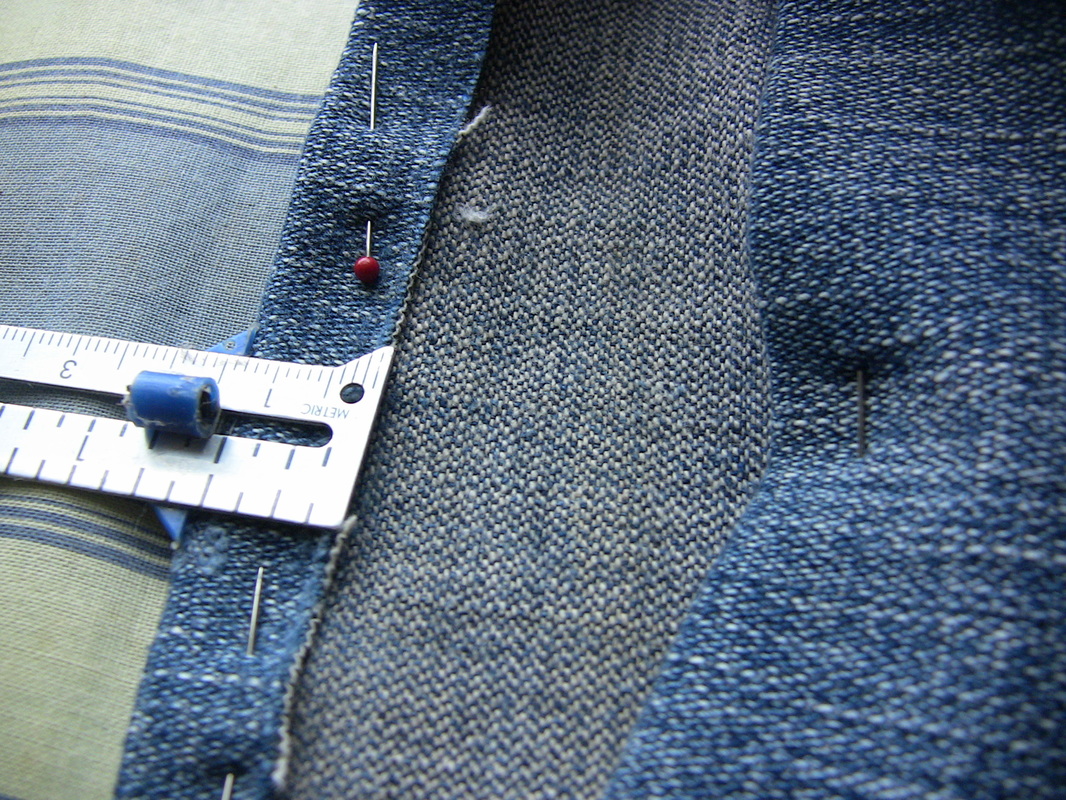
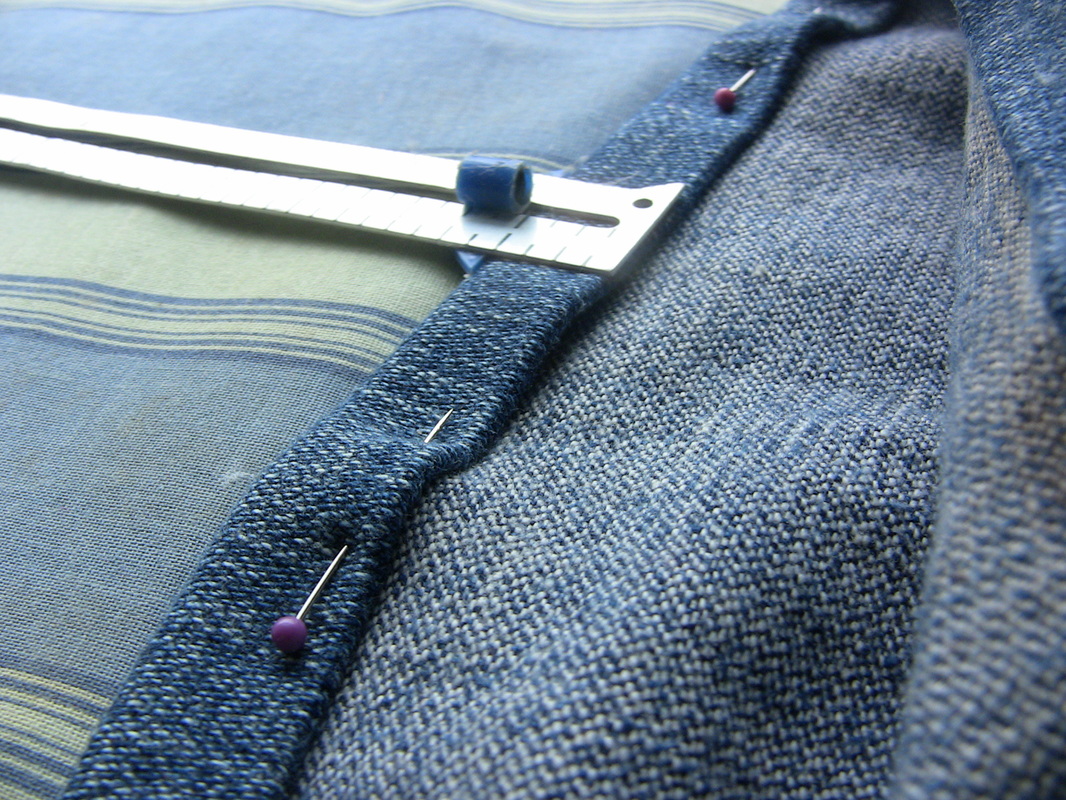
The final challenge I had with cloth diapering was finding clothes that fit and looked okay on Baby. I tried leg warmers (the didn't stay up), Maxaloones (special homemade cloth diaper pants) and onesie extenders. Finally, I discovered that the best combination is a onesie or shirt (based on baby's age—if onesie, it may help to use an extender) and a pair of leggings several sizes above what she'd wear with a disposable diaper. For example, right now Baby is wearing an 18 mos. size shirt with 3T leggings. You can either roll up pant legs that are too long, or fold them under and sew to keep them in place (but keep the length intact so baby can wear the pants for as long as possible). Dresses are also fabulous, since they cover the big butt in a cute way.
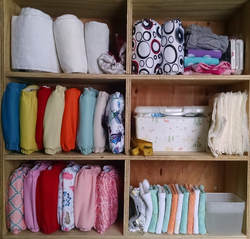
After a year of using cloth diapers, I would say there are five things worth buying: 1) Alva pocket diapers, 2) Thirsties or other hemp inserts, 3) flour sack towels, 4) a cheap fleece blanket, cut into large liners, and 5) a couple good all-in-one diapers to keep in the diaper bag, or for going out of the house. The all-in-ones typically don't look as "fluffy" as other types of diapers. They do take longer to dry, which is why I wouldn't want a whole stash of them (not to mention the fact that they're expensive).
Another thing worth saying about cloth diapers: if the diapers stink, leak, or you hate them, it's not a good diaper system for you. Don't settle for diapers that don't work, or a laundry routine that takes more time than it's worth. When you do find a system that works, tally up ALL of the costs (laundry soap, using the dryer, disposable liners, extra accessories) and compare them with the cost of disposable diapers.
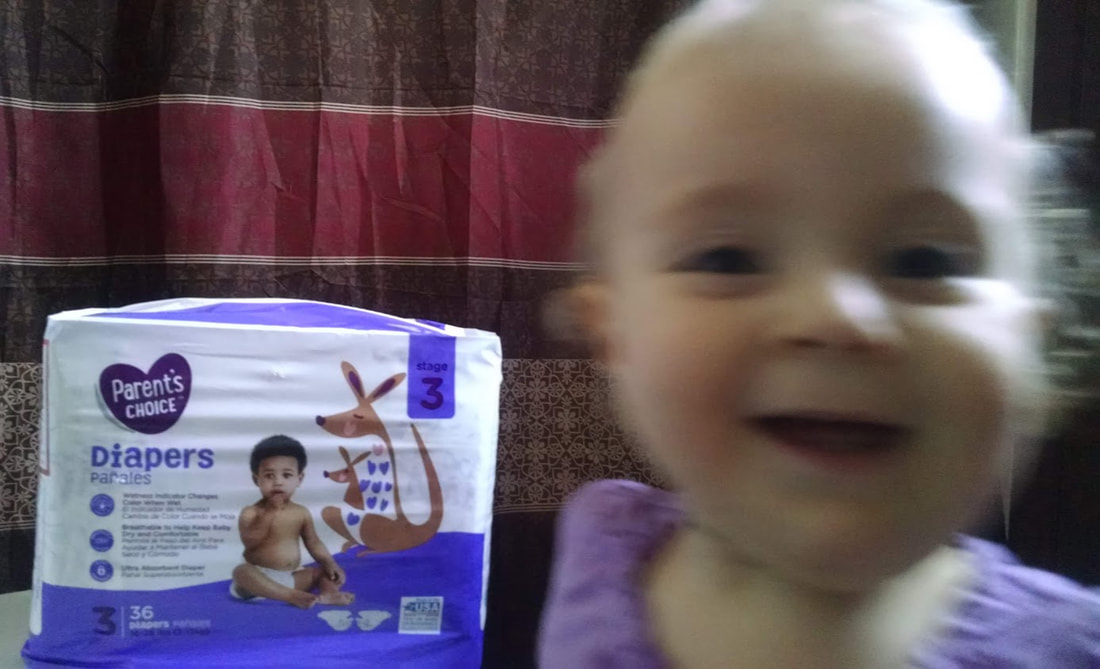
Method 4: Cheap Disposable Diapers
When I looked into diapering options for our baby, I wrote off cheap diapers like "Parent's Choice" (Walmart's store brand) completely. I knew a few moms who didn't like them, plus I read some articles online about how they leaked or fell apart and weren't worth the money. As frugal as I am, I never even tried the cheap diapers on our baby until she was nine or ten months old.
I bought Parent's Choice diapers when I was stripping our cloth diapers and wanted her in disposables 24/7 for a while. Some of the horror stories were true: the diapers did seep through when left on overnight, plus the "stuffing" shifted when they got too full. They were, indeed, cheap diapers.
But you know what? A cheapo diaper costs $0.13, and the "cheap" Luvs diapers cost $0.20 each. That's a measurable difference over the course of two or three years. I decided that, for the small amount of time that Baby is in disposables (at night, and sometimes when we're out of the house), I can deal with a flimsy diaper.
Here is a tip for cheapo diaper users: buy yourself a few water-resistant cloth diaper covers, and use them over top of the disposables. This will save your nice baby outfits from blowouts, and prevent overnight seepage from soaking your baby's bed sheet and pajamas. The covers cost as little as $5.00 each. For $10.00 or $15.00, you can make those Parent's Choice diapers FAR more effective poop-holders than their expensive brand-name counterparts! I used our old, spent night time pocket diaper shells as covers. They were free, and they are a great insurance policy for blowouts.
In addition to buying cheapo diapers and adding a cover, you can also use coupons to get better quality disposable diapers at the same price. I've done this a couple of times, but there's no way I could have found 2-3 years' worth of disposable diapers that way. Many couponing moms start building diaper stockpiles before their baby is even conceived. I'm not up to that.
Conclusion: Do The Cheapest Thing That Works for You
When we had the ammonia issue with our cloth diapers, I re-evaluated my diapering decisions from an economic point of view, comparing our current diapering situation (using pocket diapers, washing in Tide) with just buying Parent's Choice disposables. Using Tide detergent bought on sale, it cost me about $0.07 per diaper to launder the cloth, plus time to line dry and re-stuff (about a minute per diaper). The disposable diapers cost $0.13 each, plus time to take out the trash (so, possibly extra trash bags) and shop for the diapers.
I was only saving $0.05 per diaper* by using cloth; so, about $0.35 per day. I had to ask myself if it was worth saving $0.75 for every load of cloth diaper laundry. I came to the conclusion that since I don't mind doing laundry, and I already have the diapers, I will continue to use cloth. Additional note: I started replacing 1/3 of the Tide detergent with cheaper Xtra detergent, which helped increase the savings. In time, I may switch back to Xtra entirely.
To bring this article full-circle, I'd like to remind you that the cheapest diapering method of all is to not use diapers. At our current rate of use, I'm still spending about $0.36 per day on laundry detergent for our cloth diapers, which adds up to $10.80 per month. The sooner you potty train, the better! During this next year of diapering, I want to keep that in mind as a goal to work toward.
Til next time,
-Bethany
*At this point, our cloth diapers begin to leak after 2.5 hours of use. The disposables, used with a cover, can easily last for five hours without needing to be changed. That means that I need to use two cloth diapers ($0.12- $0.14 cost for laundry detergent) for every one disposable ($0.13 cost). Technically, if I chose to change our baby less than every five hours, I wouldn't be saving any money with cloth diapers.
It's up to the parent how long they wait to change a diaper. I prefer to change every 3-4 hours or sooner.


 RSS Feed