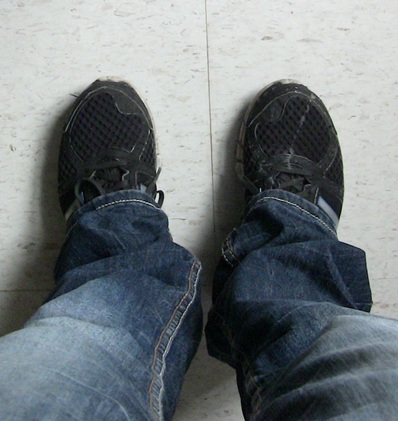
 Before | 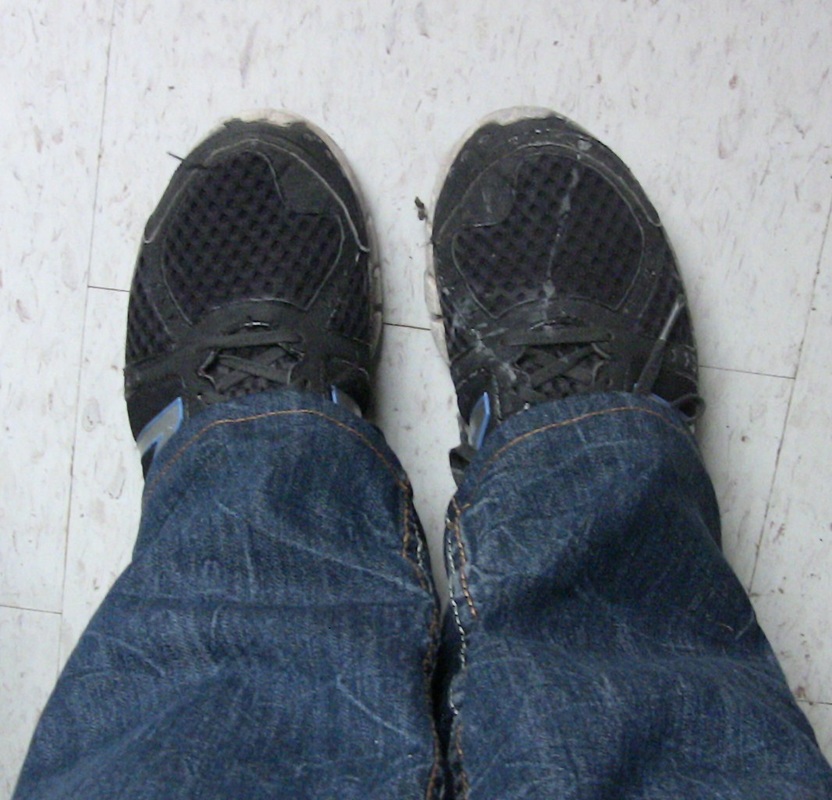 After |
Do you ever get tired of stepping on your jeans? I do. I get tired of dragging a clump of threads behind my feet as I take each step, chewing up what is left of the back of my pant legs. Several weeks ago on a Sunday morning, I got tired of all this nonsense and chopped the bottoms off until they were only a half-inch longer than needed. Then I folded up the end and stitched along the bottom. It wasn't the best job ever, but at least I didn't have any raggy tag-alongs. Relief!
Up until recently, I would just flip up the bottoms of my too-long pants. I mean, that's cool, right? Maybe not, but they were NICE jeans and it wasn't like I was going to cut them up. Besides, they looked great when I wore heels or boots. The problem was: they were nice jeans. Before stepping on the hem for months started wearing them down to a mess of dirty threads.
Extending the Life of Jeans
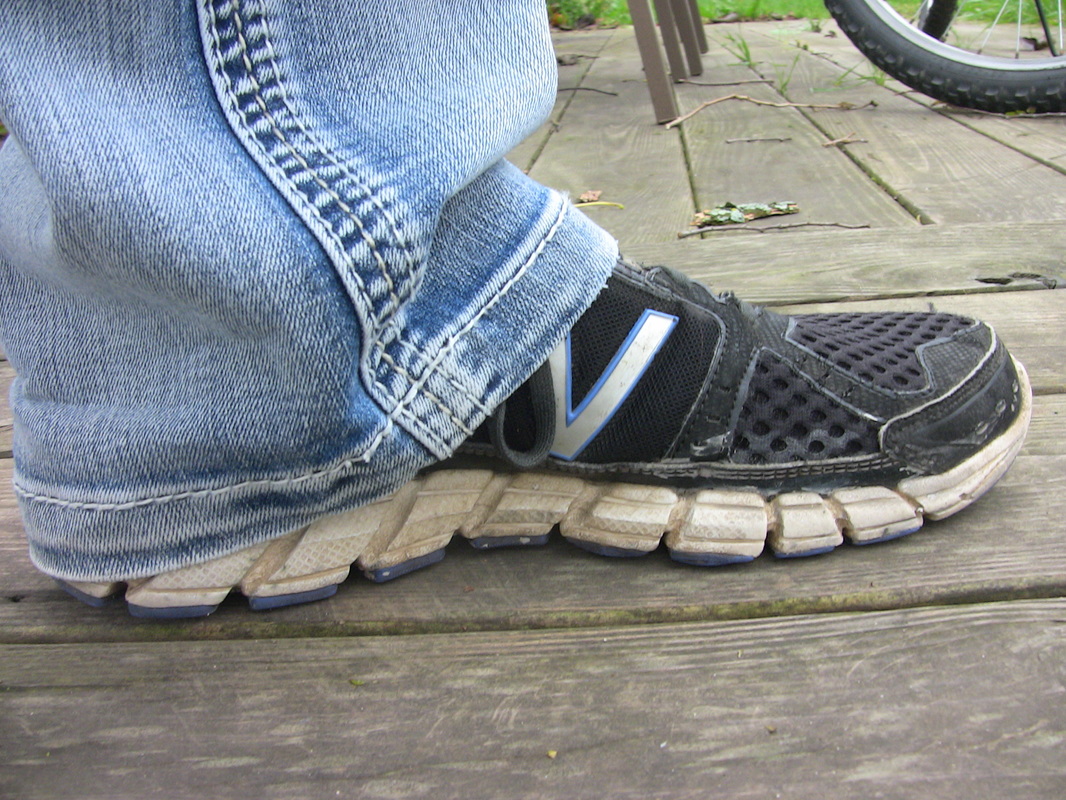
In addition to patching, hemming to the correct break point (that is, where to pant leg falls on your shoe) will extend the life and usefulness of any pair of jeans.
Before you start cutting, it's important to know what shoes you normally wear with each pair of jeans. This will affect where your hemline should be. Longer hems are better with high heels and boots, but shorter hems work great with flip flops or ballet flats. Tennis shoes- what I wear with most jeans- are somewhere in between.
There are a million different "guides" out there to how long your jeans are supposed to be. I found that the best guides were actually from men's websites. Sites for women were all over the place in regards to hem advice, and most of it was based on unflattering fads like skinny jeans or ballet flats. I didn't see a single site that addressed wearing tennis shoes or anything else that is actually comfortable. Women's fashion is so fickle.
How to Hem
1. Determine the proper break for your jeans. You can do this by folding and pinning, and then looking at the hem in a mirror. In general, you want the hem to fall on the top of your shoe, but not be all bunched up. And you want to be able to walk around with stepping on your pants. Once you have found the right length, sit down. Are you flashing a bunch of ankle or sock? You don't want to look perfect when you're standing up and dorky when you sit down, because let's face it- most of our lives are spent sitting down anyway.
Up until recently, I would just flip up the bottoms of my too-long pants. I mean, that's cool, right? Maybe not, but they were NICE jeans and it wasn't like I was going to cut them up. Besides, they looked great when I wore heels or boots. The problem was: they were nice jeans. Before stepping on the hem for months started wearing them down to a mess of dirty threads.
Extending the Life of Jeans
In addition to patching, hemming to the correct break point (that is, where to pant leg falls on your shoe) will extend the life and usefulness of any pair of jeans.
Before you start cutting, it's important to know what shoes you normally wear with each pair of jeans. This will affect where your hemline should be. Longer hems are better with high heels and boots, but shorter hems work great with flip flops or ballet flats. Tennis shoes- what I wear with most jeans- are somewhere in between.
There are a million different "guides" out there to how long your jeans are supposed to be. I found that the best guides were actually from men's websites. Sites for women were all over the place in regards to hem advice, and most of it was based on unflattering fads like skinny jeans or ballet flats. I didn't see a single site that addressed wearing tennis shoes or anything else that is actually comfortable. Women's fashion is so fickle.
How to Hem
1. Determine the proper break for your jeans. You can do this by folding and pinning, and then looking at the hem in a mirror. In general, you want the hem to fall on the top of your shoe, but not be all bunched up. And you want to be able to walk around with stepping on your pants. Once you have found the right length, sit down. Are you flashing a bunch of ankle or sock? You don't want to look perfect when you're standing up and dorky when you sit down, because let's face it- most of our lives are spent sitting down anyway.
This one is a little too long.
Folded under to desired hem length. Add 1" for hem, then cut.
After you determine where you want the hem to fall, add one inch* and cut off the extra. On this pair of pants, I only ended up cutting about an inch off each leg, even though I wanted the hem to be two inches shorter. It's important to leave some seam allowance! You can always cut more off, but you can't put it back on.
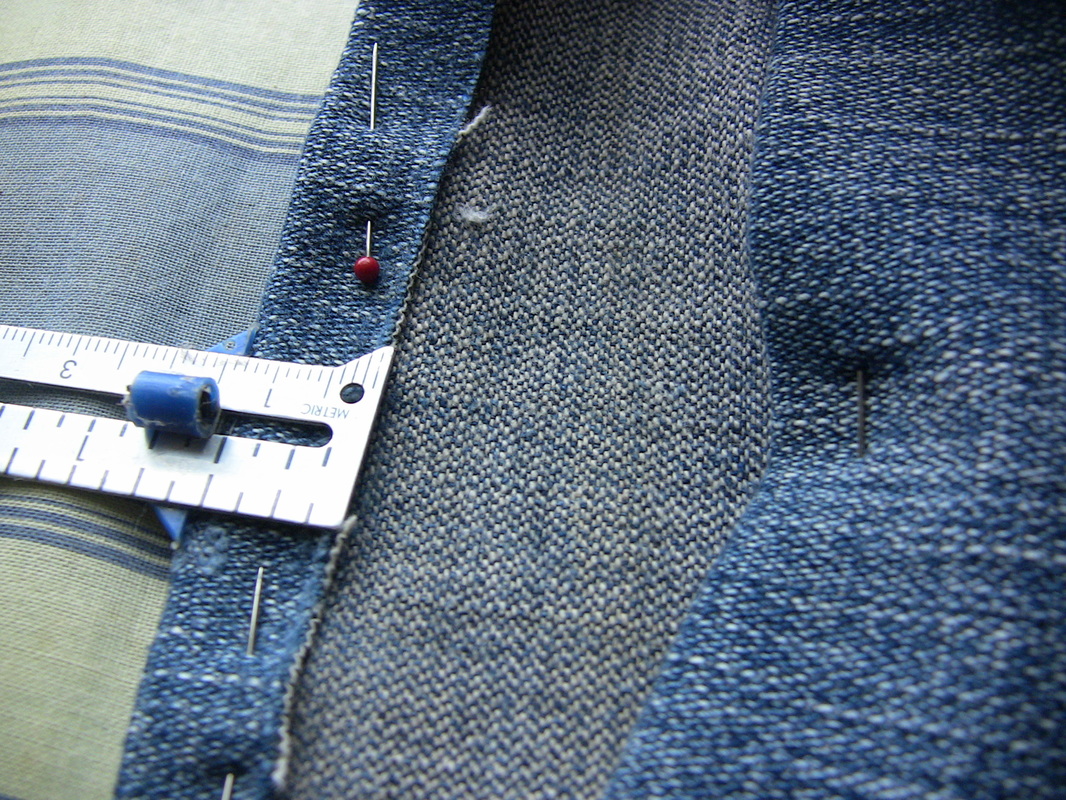
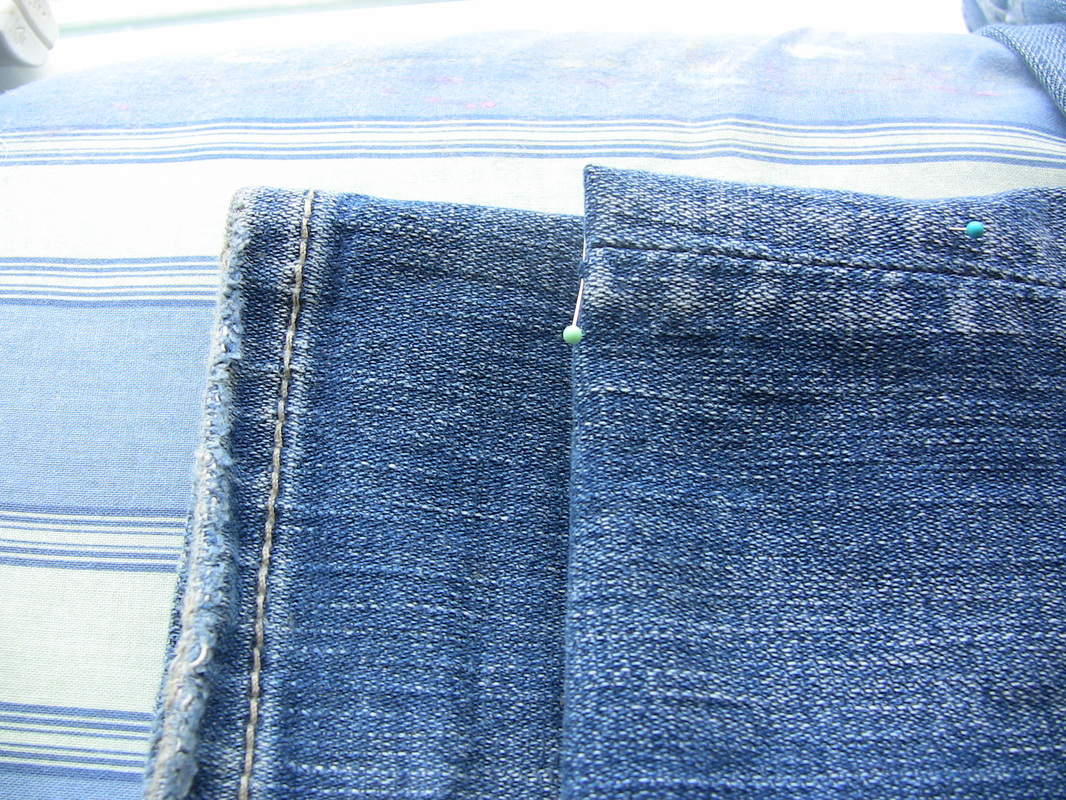
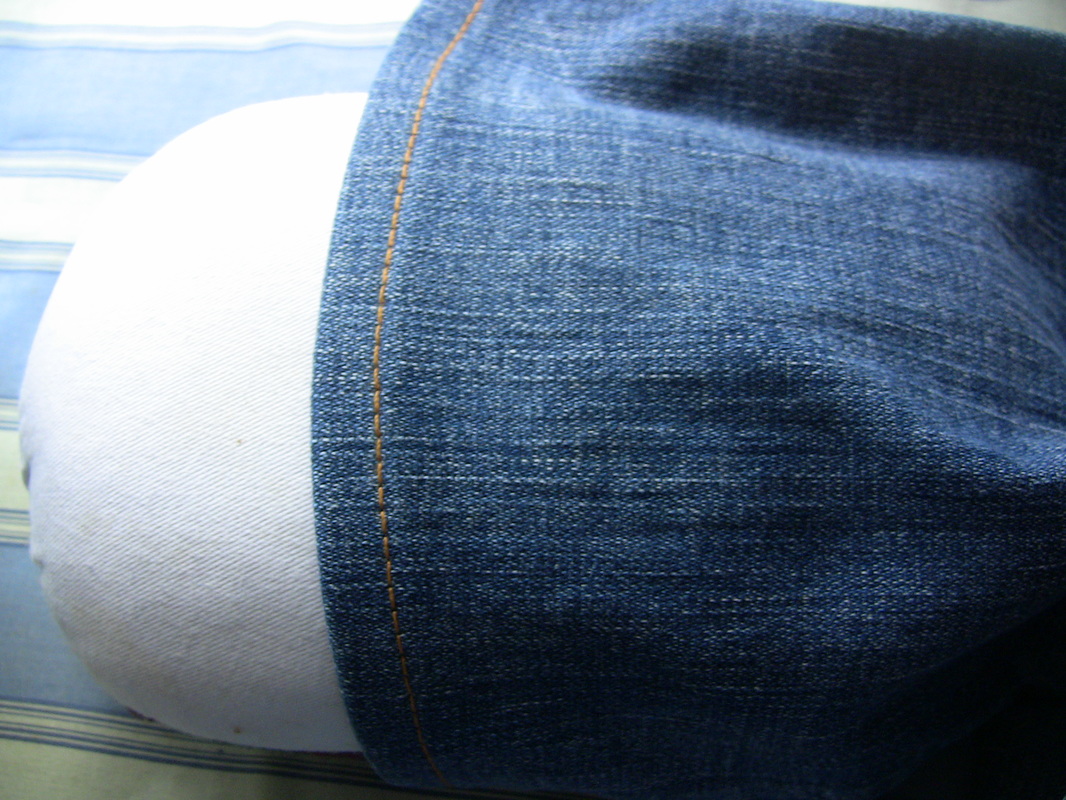
Fold the end under a half inch, and then pin it down. Use a hem gauge to keep checking for the right length. After you've pinned everything, iron it little by little. Take out a pin, iron that section, put the pin back. Take out another pin... you get the idea.
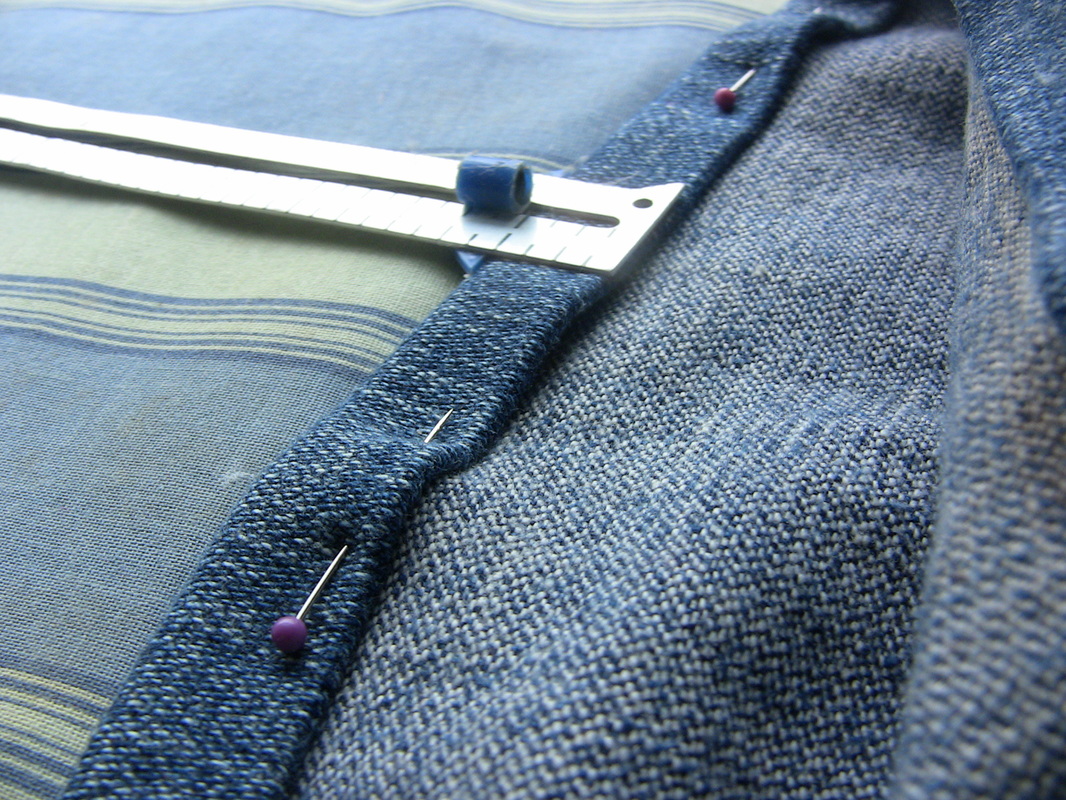
Now it's time to do it all over again. Fold the hem up another half inch; this hides any raw edges. Take out a pin, fold over another half inch, iron, and pin it back into place. Unpin, fold, iron, pin. Repeat until the whole leg is done. If you are working with flared jeans, you may have some issues with puckering and/or stretching. Here is a great tutorial for working with flared or tapered jeans. In fact, I am binge-reading her website like candy right now... you should too, after you finish reading this.
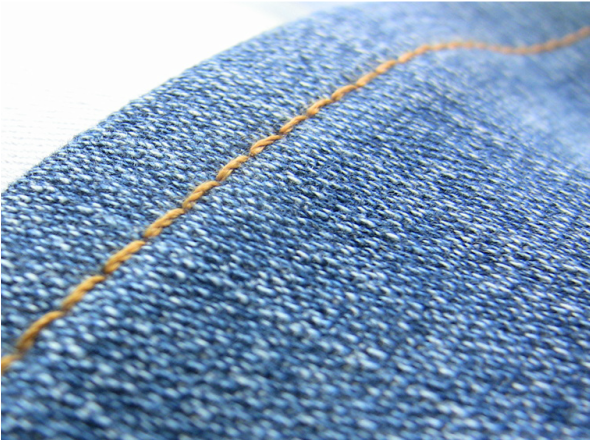
Load your bobbin and thread your sewing machine with orange (or another color) thread. I use "Dual Duty Plus" from Walmart, advertised as "extra strong for jeans". It's a little more expensive, so hemming is about the only thing I use it for.
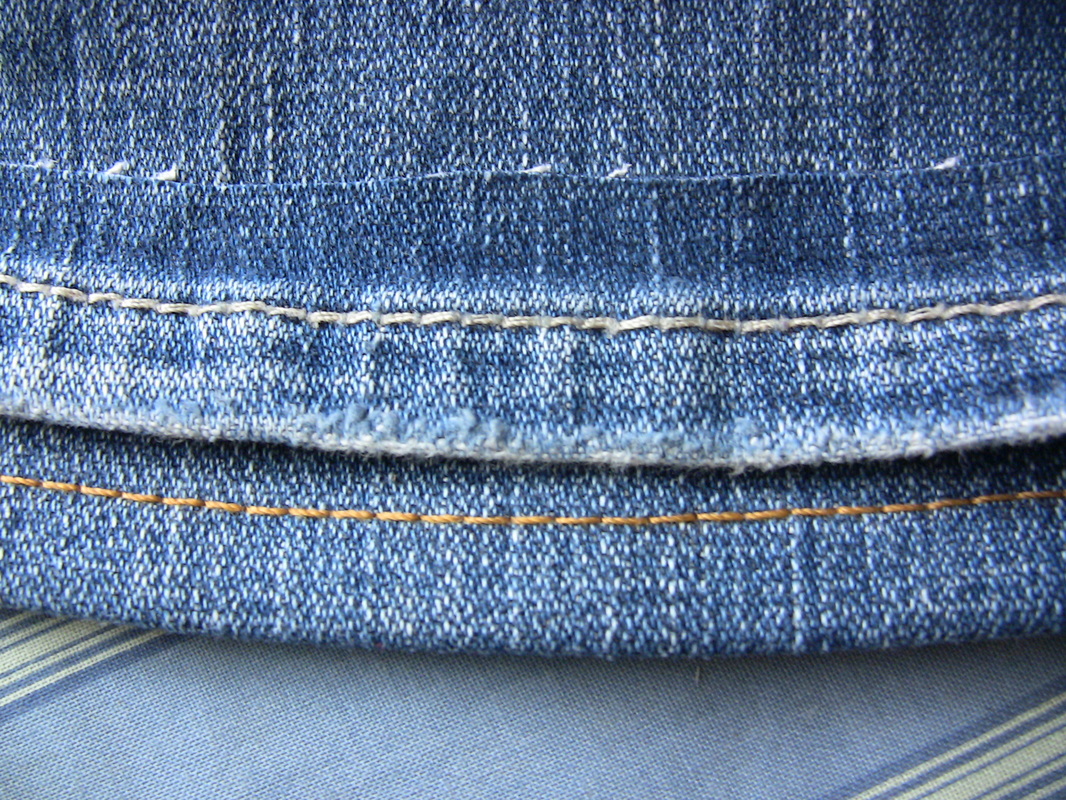
Sew 3/8 inch from the bottom of the pants, all around each pant leg. You want the stitch length to be pretty long. You might have to slow down and gently work your way through thick side seams. Usually the inseam is the thickest. While you are sewing, try not to stretch the fabric. This can make the fabric bubble in and out.
Sew 3/8 inch from the bottom of the pants, all around each pant leg. You want the stitch length to be pretty long. You might have to slow down and gently work your way through thick side seams. Usually the inseam is the thickest. While you are sewing, try not to stretch the fabric. This can make the fabric bubble in and out.
After you've finished sewing, iron the hem from top to bottom, with the grain line. If you iron the pant leg from left to right, it will skew the hem line. Ironing is very important. Here I'm using a round pressing ham to make it easier.
The new hem will be a little more stiff than the old one, and it won't be distressed. There are plenty of tutorials and Youtube videos that show how to distress jeans. I might do a tutorial on this when I get it figured out. :)
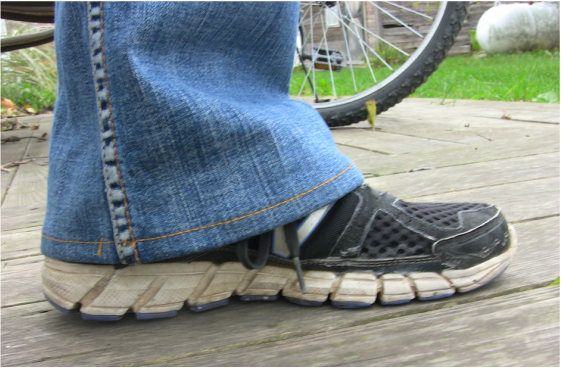
Not to short, not too long!
I'm really looking forward to not stepping on the backs of my pant legs!
Do you find that pants are always too long or short on you? Have you had your pants hemmed before, or possibly hemmed them yourself? Tell me about it!
-Bethany
*This is just a standard length to add. Some jeans have wide hems (1" instead of 1/2"- this means you would have to add 1.5-2" past the break point marked with pins) and you can make the hem as wide or narrow as you'd like. One inch (a half inch for each time you fold up) is easy to remember, though.


 RSS Feed