To finish reading my thoughts about this week, buy my book; One Season of the Farmers Market.
|
Less than 8 weeks to go! We are now two-thirds through the season, but in a way I feel like the real farmers market is...
To finish reading my thoughts about this week, buy my book; One Season of the Farmers Market.
0 Comments
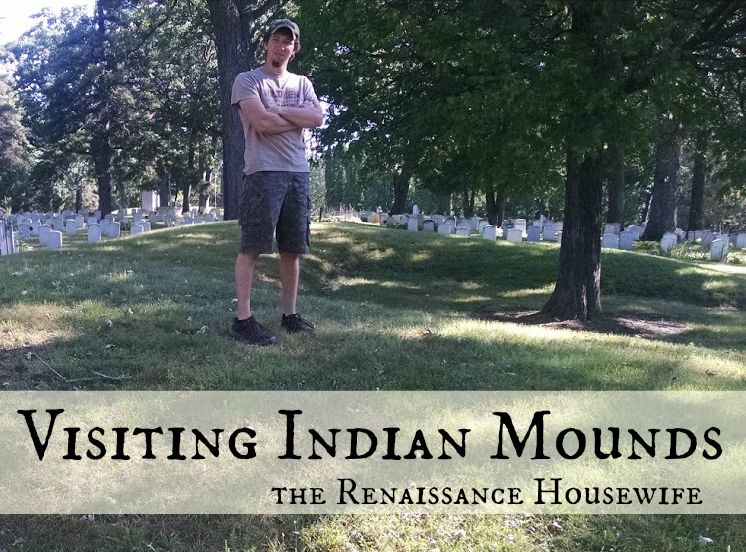
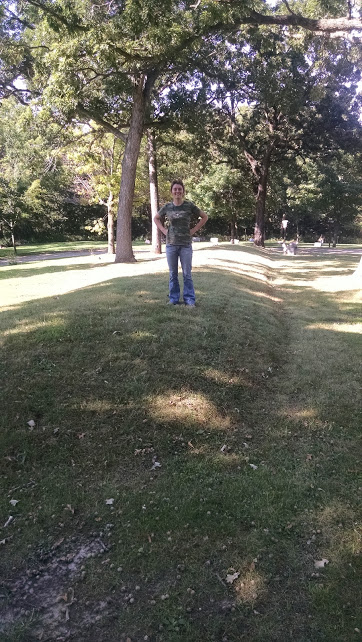
Shortly after visiting Mayan ruins at Tikal, I was doing some research on local history and discovered that here in North America we had our own version of ancient peoples, the "Mound Builders", creating earthworks in the Eastern part of the United States. The history of these mounds has been lost, though some people have made educated guesses. In the 1830's, there were many small and some large mounds discovered right in my neighborhood, though they have since been plowed over and destroyed by farmers and civilization. Since I couldn't find a mound in my backyard, I thought it would be neat to see a larger, possibly animal-shaped mound. Last week we went on a camping trip to Wisconsin, and I finally got the chance to see some real Indian mounds. We went to two mound locations in Madison. One group of mounds was at Governor Nelson State Park, and the other was in Forest Hill Cemetery. The Cemetery I enjoyed seeing mounds at the cemetery. There was no admission fee and the mounds were easy to locate. We saw a (headless) goose mound, some linear mounds and also two panther mounds. The grass was clipped short, and obviously there were no grave markers on the mounds, so their outlines were easy to make out. We were able to walk on top of the mounds and take pictures as well. The State Park
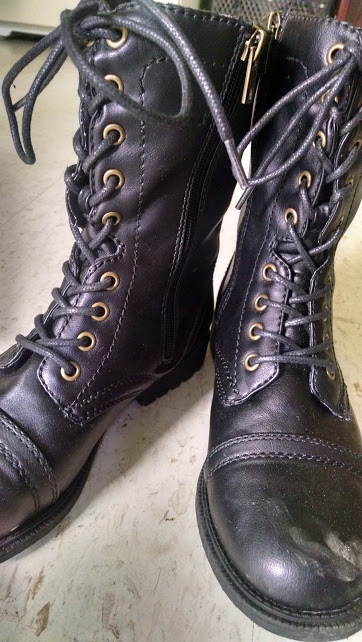
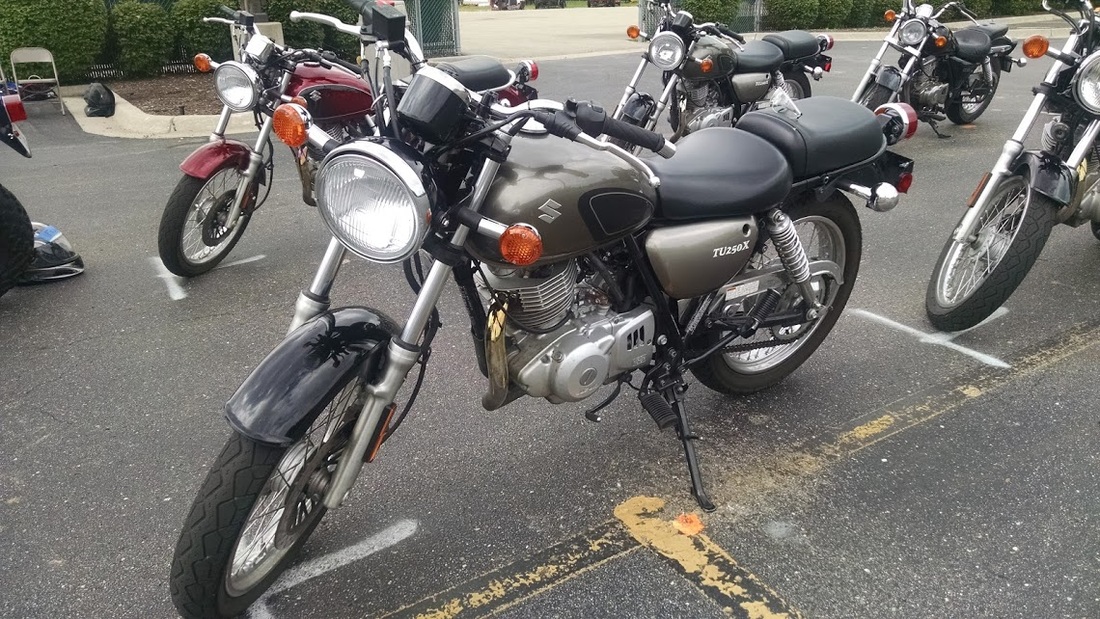
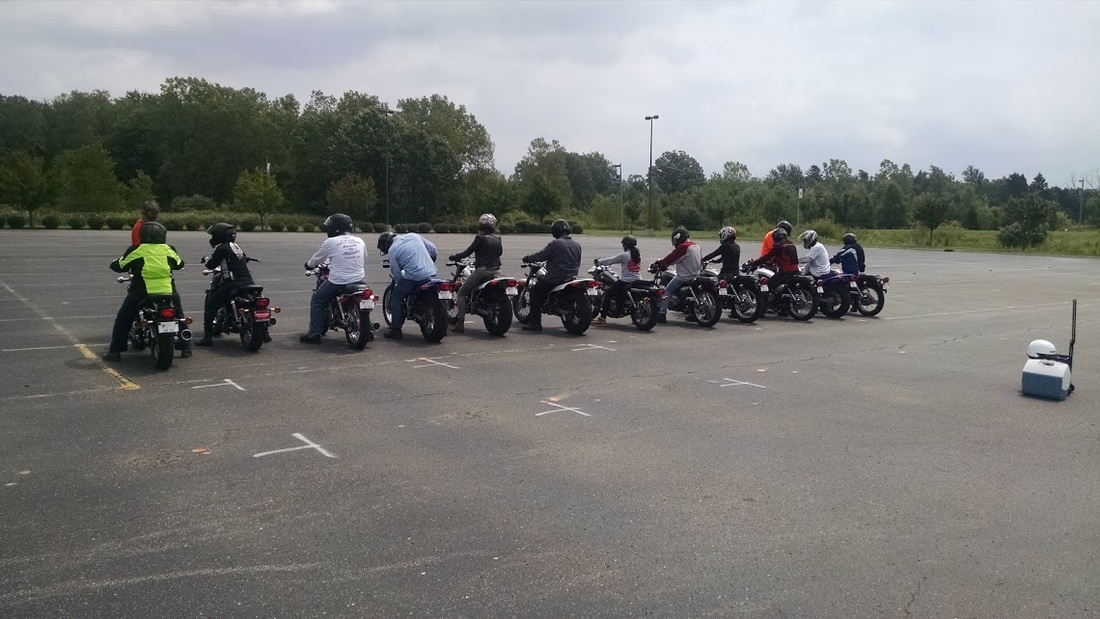
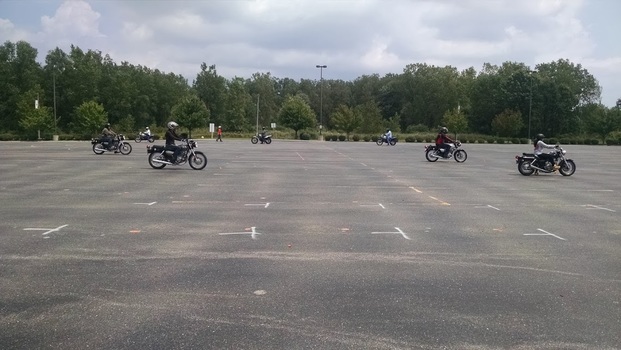
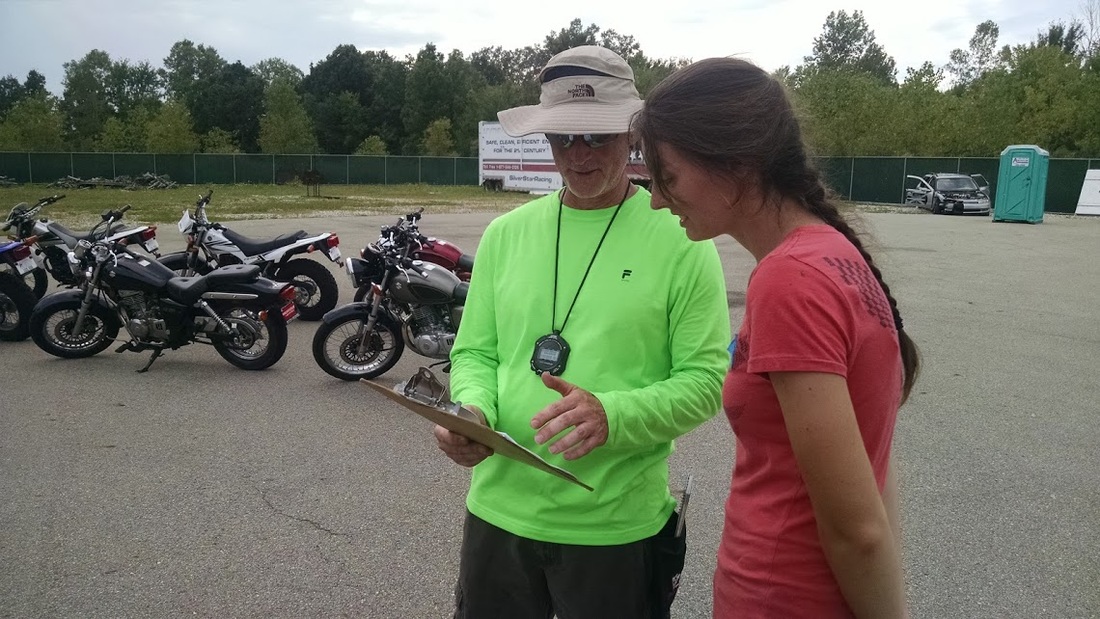
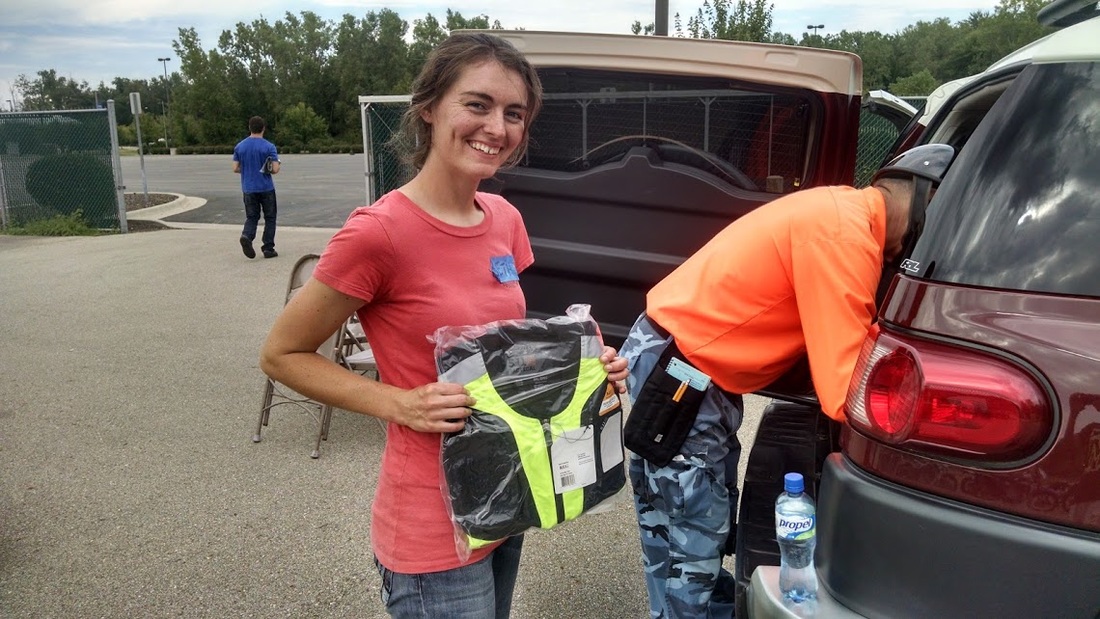
I also chose to go to the state park because I read that it held conical mounds, in addition to a panther mound and possibly a linear mound. We paid $5 for a one-hour pass, in order to walk the 1-mile trail. The timing was just about perfect. The park did have some interesting features, such as the area of bur oak savanna that was being restored, but we came to see Indian mounds, and those were a disappointment. The entire trail was in the woods, so as you can imagine there was underbrush, bushes, and trees all over the place. The conical mounds were easy to find, but they were smaller than I thought. Plus they were covered in brush and weeds, so they were obscured. The panther mound was also obscured because of the forest. The only part that we could see from the trail was the tail end. The sign in front of where we were standing instructed us to respect this priceless piece of history and please not walk on it. Tips for Mound-Hunters I look forward to seeing more mounds in future travels, and I would recommend them to anyone who takes an interest in American history. Here is a Google map of many popular mounds in North America. If you are going to visit some mounds, I would recommend seeing some that are mowed or otherwise easily visible. No wooded areas. Another idea would be to see them in the winter, when there are no leaves on the trees or weeds growing. Also, there is really no reason to pay admission fees, because there are many wonderful mounds that you can see for free, such as the ones we found at the cemetery. Have you ever seen Indian mounds? What did you think? Before I met Hubs, I thought motorcycles were for big, mean hairy guys with tattoos and long beards. None of my friends or family rode motorcycles. I grew up in a farming community, so people had more use for skid steers, tractors and big trucks than motorcycles. After riding around with Hubs for a while when we were dating, I realized that motorcycles weren't the death machines I thought they were. Riding a motorcycle can be and is safe for many people who take reasonable precautions and know how to use their bike. As with driving a car, driving too fast and not stopping at stop signs will get you into more accidents. If you are a safe driver, the main concern about riding a motorcycle is being seen by other people on the road. In addition to being more safe than I thought, motorcycles can also be cost effective due to high gas mileage and low insurance costs. You can read my second car article to find out more about this. Fur us, the motorcycle has made it easier to be a one-car family. There were several reasons I chose to get a motorcycle endorsement. Just because I did doesn't mean everyone should. Here were my reasons: 1. We already owned a motorcycle. 2. Transportation was more difficult because I couldn't use the motorcycle. 3. The motorcycle got better gas mileage, and thus was much more economical to drive. 4. Training and endorsement was readily available and relatively cheap ($25, plus new gloves and boots because I didn't have any, and gas driving to and from class). 5. If I didn't learn, there wouldn't be much reason to keep the motorcycle after having kids. Skills Test or Safety Course There are two ways to get an endorsement. The first way- and this is the way Hubs did it- is to just take a skills test (starting and stopping, making a U-turn, swerving and riding through curves). However, you can also take a safety/skills course and THEN take the test after the course. I chose the second option, because I had almost no riding experience, let alone the ability to make U-turns. The problem with motorcycle safety courses is that they fill up very fast. Most summer classes are filled up in January or February. However, the drop out rate for these classes is rather high, so instead of registering early you can just pick the class you want to take and show up as a walk-in. I found a class about 45 minutes away at a college. The college held the same class every weekend, so I simply picked the best weekend for me. The course included one 4-hour Friday night session, and then actual riding time on Saturday and Sunday for another four hours each day. In order to ride out in the parking lot, we were required to have 1) a DOT-approved helmet, 2) a jacket or long-sleeved shirt, 3) boots that covered the ankle, 4) gloves and 5) eye protection or a full-face helmet. The instructor recommended both safety glasses AND helmet, so we could leave our helmets open because of the heat. When I showed up on Friday night, there were probably 25 people in the room- eight of us were drop-ins. I filled out some paperwork, and then the rest of the class was spent going through the textbook that each of us were given. The teacher had each of the three tables read or summarize different sections of the book, and sometimes he would illustrate a certain principle on the chalkboard. It was kind of tedious. I was surprised to see how many women were in the class. I would guess that 25% of us were female. It was interesting though because about half were were under 25- the daring/risk-taking kind of girl with tattoos and piercings and dyed hair, and the other half were over 60 (though more normal-looking). One lady I talked to was 65. I asked her why she decided to take the course. "Oh, I've always wanted to ride!" she said excitedly. I think it's unfortunate that 'normal' ladies like myself tend to be scared stiff of motorcycles (to the point of forbidding husbands to ride), and the ones that do learn to ride wait until they are 60+ and only have five or ten years left. I think everyone who has a motorcycle at their house should learn to ride it sooner than later, for practicality's sake. Our actual practice time was 10 hours (five hours each on Saturday and Sunday) of different exercises. I was comfortable completing most of these exercises- the hardest part was following directions. The whole parking lot was full of different lines, curves and X shapes, so usually the first person going through went the wrong way, and had to be redirected by one of the instructors. I would recommend familiarizing yourself with the exercises before getting into the parking lot. Here is a list, and there are also videos that people have made going through different exercises. Following instructions was the most frustrating part of the class for me. For example, in one of the first exercises we were supposed to "power walk". I had no idea what power walking was, and the instructor only explained it after I asked. Similarly, some of the motorcycle jargon was lost on me, so when the teacher was explaining fuel-injected and non-fuel injected, I had no idea what he was talking about. The course is supposed to be good for complete newbies, but most of the students in my group already owned a motorcycle and had been riding for some time. After we had been through hours and hours of drills, we did some practice for the test. I spent most of my time practicing for U-turns, because that is where I had trouble. Looking back, I should have also been practicing quick stops as well. I would recommend reading about how the test is scored. Our instructors gave some hints and tips, but I think I could have scored better, had I known what mistakes to avoid and which ones were less critical. In the end, I passed... but barely. We were allowed to get 15 points deducted before failing, and I got all fifteen. Ten of those points were deducted because I didn't stop soon enough on the quick stop. I had understood that it was more important to start braking after the cones than it was to actually stop quickly. However, some of us noticed that people were braking before the cones, and the instructors didn't really care. Apart from the quick stop, I did pretty well. There was one other mistake I made on one of the exercises that cost me five points. The U-turn I was so worried about went without a hitch. But I was so thankful that I passed! It was a grueling two afternoons in the heat that I didn't care to repeat. Out of the 12 students in our group, three ladies didn't pass. A 25% fail rate was not what I had expected, reading all the reviews online that said "almost everyone passes". The course was harder than I had anticipated, but I'm so glad I did it. Everyone who passed the skills test got to take home a new safety vest.
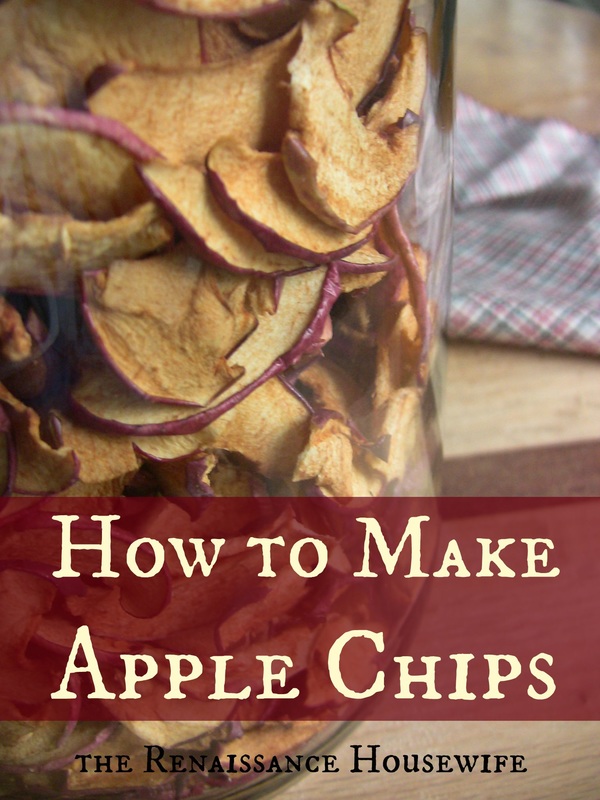
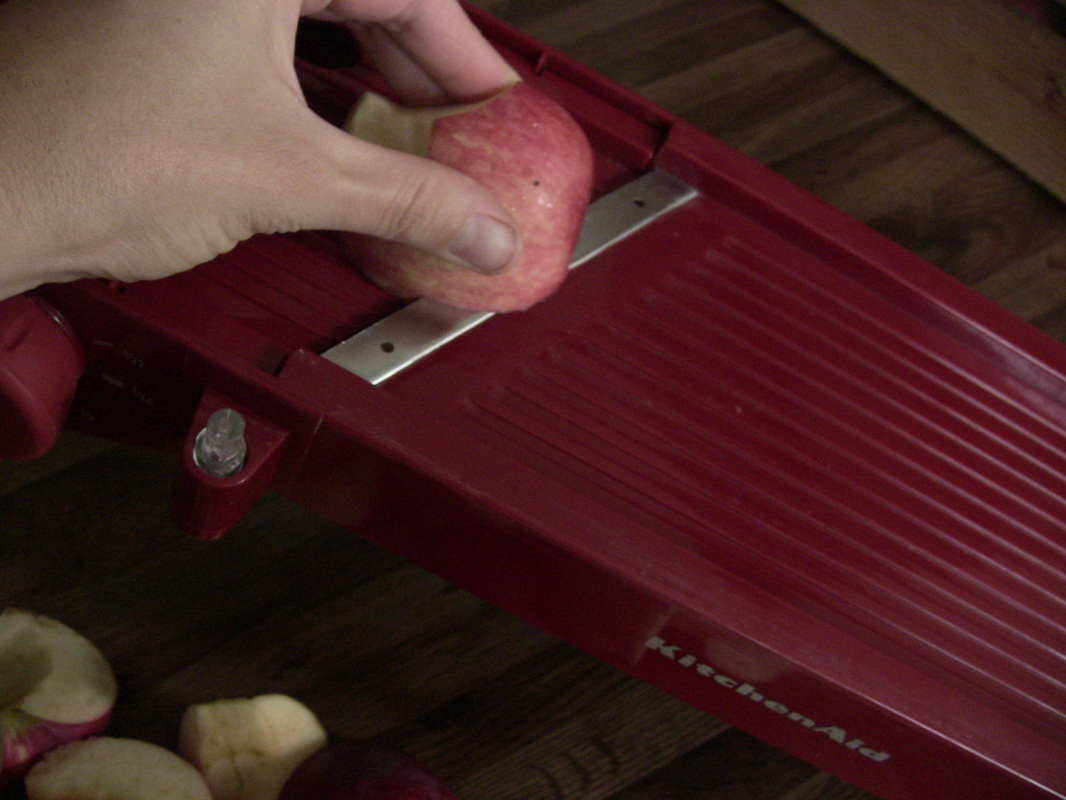
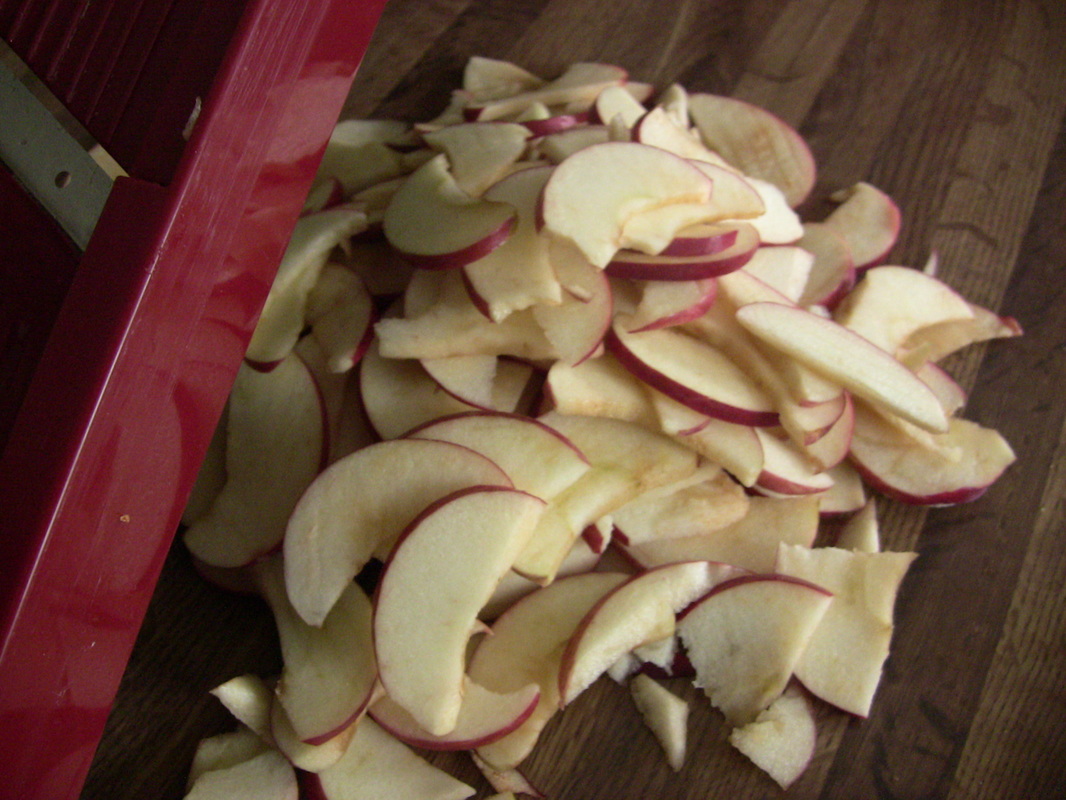
Written Test The other part of getting a motorcycle endorsement is going to the Secretary of State office to take a written test. This test has 25 multiple choice questions. There are many sample tests that you can take online. I took these sample tests for about an hour before we went in to the Sec. of State. This test, like the last one, was harder than I thought. The lady at the desk counted up all my wrong answers and I had failed. She was really nice about it and just gave me a new test. On the second test there were some different questions. I got fewer questions wrong on the second test and actually did pass. Then she took my picture and I got a new driver's license a couple weeks later. Frugal Accomplishments Add Up Learning to ride was actually on my list of goals last year, but now it's finally done and I can drive a motorcycle for the next 40 or 50 years. Last week we had to pick up a rental car, and I was able to follow Hubs home with the motorcycle. If I had not been able to, we would have had to take the truck both to and from the airport. Thus, this ride alone saved us $6, or two gallons of gas, with no inconvenience to us. It's one of many small ways to save without sacrificing lifestyle. In fact, learning to ride a motorcycle has actually enhanced my quality of life. I would much rather take a 30-minute motorcycle ride than rewash 60 plastic bags or line-dry eight loads of laundry. Do you like motorcycles? Do hate them? Why? Last time we talked about making applesauce. Another thing I enjoy making (and eating!) is apple chips. Apple chips (aka dried apples) are great for taking on trips because they require no special packaging (canning/freezing) and you can eat them with your fingers. Unlike trail mix, apple chips have no added sugar/ingredients and are practically free. Plus they are so, so yummy. Apple Chips Ingredients: Apples Instructions: 1. Cut the apples into quarters and remove any rotten, bruised or wormy parts. 2. Using a mandolin slicer*, cut the quarters into slices. 3. Set the slices on a dehydrator tray and dehydrate for 12-24 hours. Store in an airtight container.
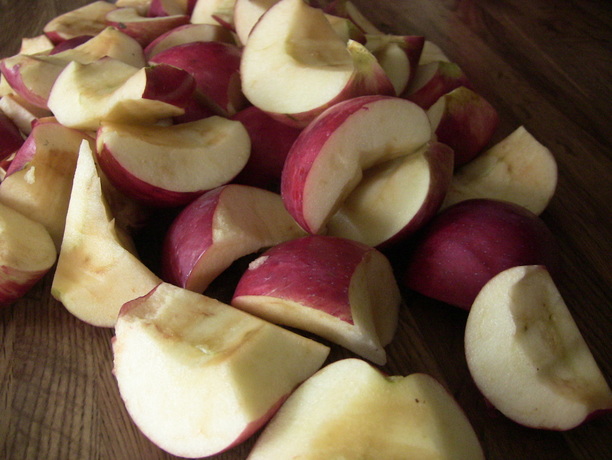
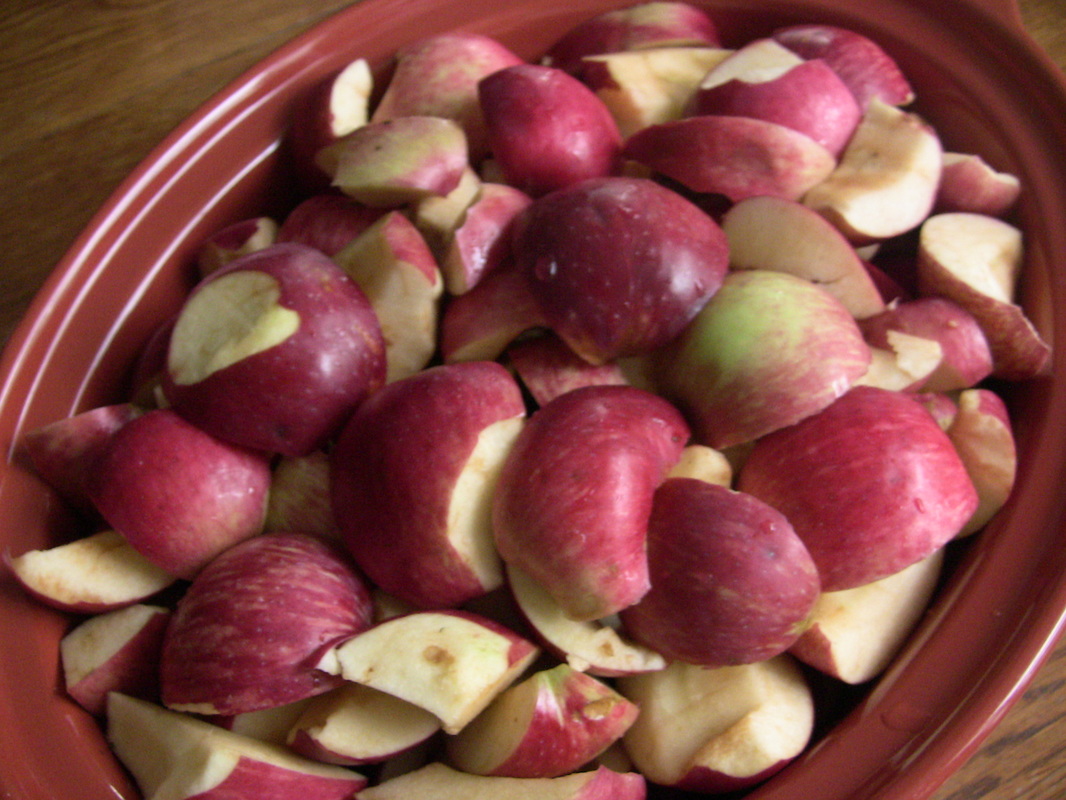
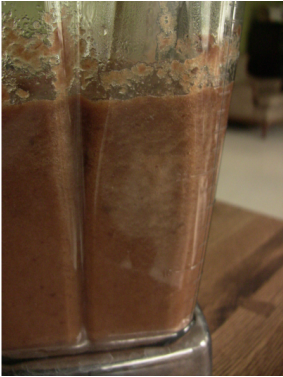
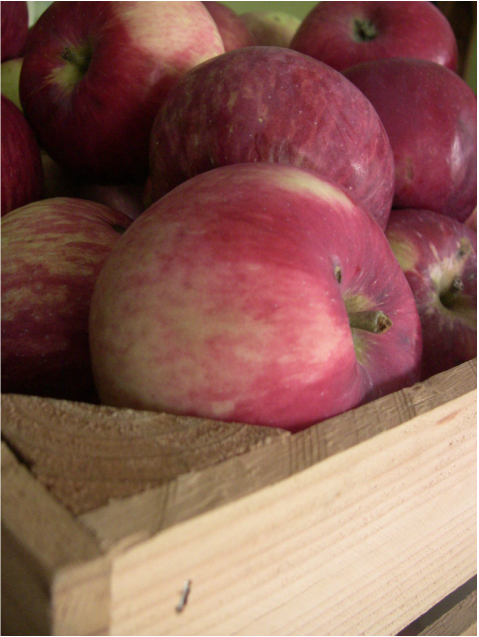
*I use a mandolin slicer because it makes each slice the same size. This means that all of your apple chips are done drying at the same time. When I lived at home I just used a knife to cut up the chips, but some were thicker than others so I ended up running the dehydrator longer than necessary. You could use any kind of slicer or even a knife for this job. As with my applesauce, I don't bother trying to keep the apple slices white or remove the skins. Skinning and slicing would be easy if you had a peeler/slicer/corer, but then it would be hard to cut out wormy parts. For my apples, a mandolin slicer works the best. Do you like apple chips? Have you ever made them before? Leave a comment! -Bethany Hey everyone! I've spent the last couple weeks up to my ears in apples, so I thought I'd share some of my favorite uses for apples this week. Today I'll be giving an easy way to make applesauce. I normally don't buy fruit at the store, because we have so much growing on our property already. My apples, however, aren't sprayed at all. This means that I have to go through the apples and cut out rotten, bruised or wormy parts. I find that this is easiest to do by cutting each apple into quarters and then cutting out the seeds while I'm at it. Most applesauce recipes require the use of a food mill, where you press the apples through a sieve and save the mashed up fruit (but discard the core, stem and seeds). When I lived at home, we would bake whole or halved apples in the oven for a couple hours, then run them through a Kitchen Aid food mill attachment. The food mill separated seeds, peels, and other parts from the sauce. It was fun to collect the applesauce and watch the "poop" (skins, seeds, cores) be pushed out the end, but it was a bit time-consuming to keep pushing apples through. My method uses a crockpot and Vitamix blender to speed things up (and keep the house cool!). I don't bother peeling the apples because the skin gives the applesauce a nice pink color and adds nutrition. If you use a blender, it will chop up the skin so fine that you won't even notice it. I also don't bother using lemon juice or water to keep the apples from turning brown, because it will be pink anyway from the skins. Easy Homemade Applesauce Ingredients: Apples Cinnamon, honey or brown sugar (optional) Directions: 1. Cut the apples into quarters, removing the seeds and any rotten, bruised or wormy parts. 2. Put the apple quarters in a crock pot on high for a few hours or on low overnight. 3. When the apples are cooked, put them into a blender 4 cups at a time, and blend until you get the consistency you want. If you want to, add optional ingredients at this time. 4. Pour applesauce into clean sterilized jars, leaving 1/2" head space. Put on sterilized lids and rings.
5. Process in a water bath canner (20 minutes for pints, 25 minutes for quarts). And that's all there is to it! For the most economical canning, use small mouth quart-size jars. Because the apples are free, I end up paying $0.15-$0.20 per quart of applesauce. Not bad, if you ask me. Adding honey or cinnamon will cost a few more pennies per quart, but it tastes SO good- almost like dessert. What is your favorite thing to do with apples? What is your favorite way to make applesauce? Leave a comment below! -Bethany Good news from the market booth! I increased...
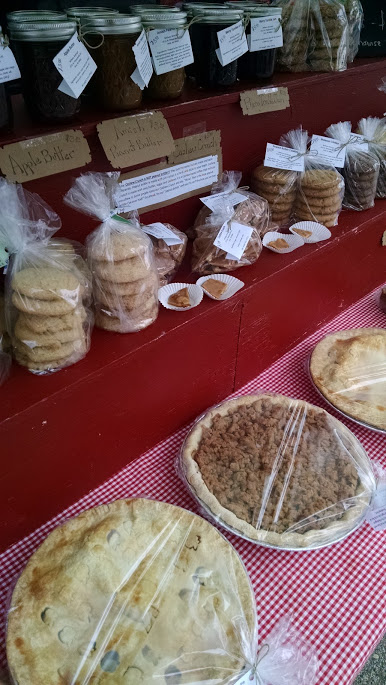
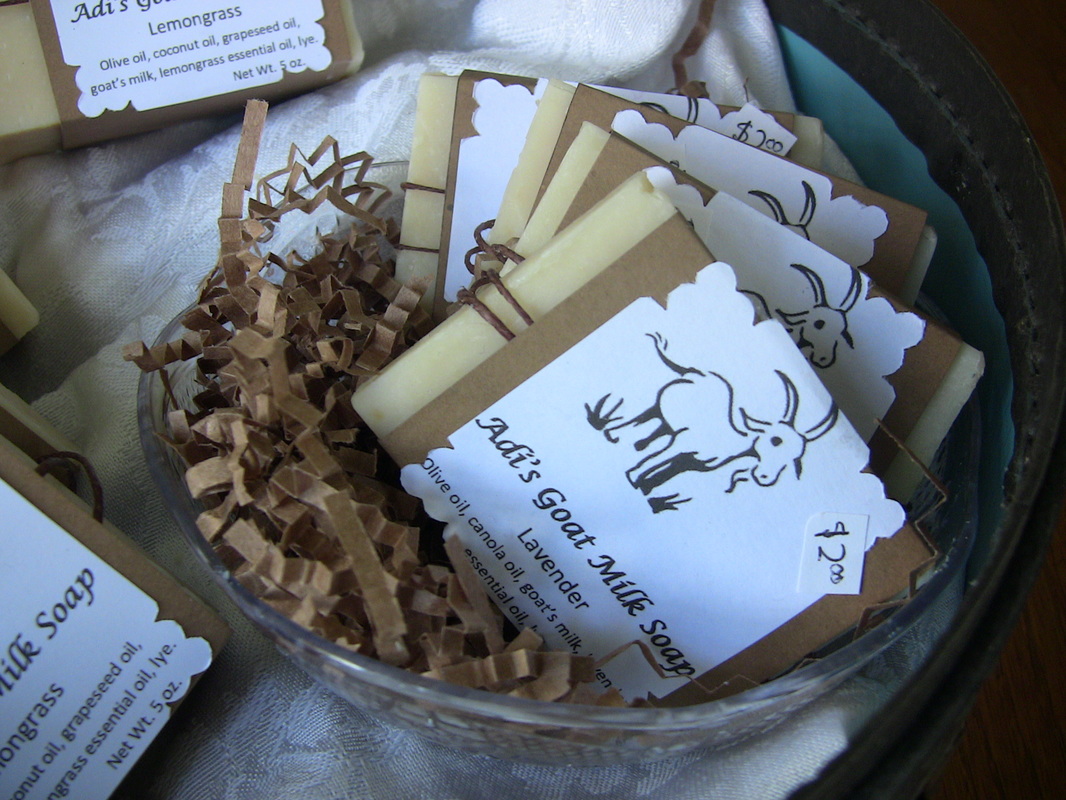
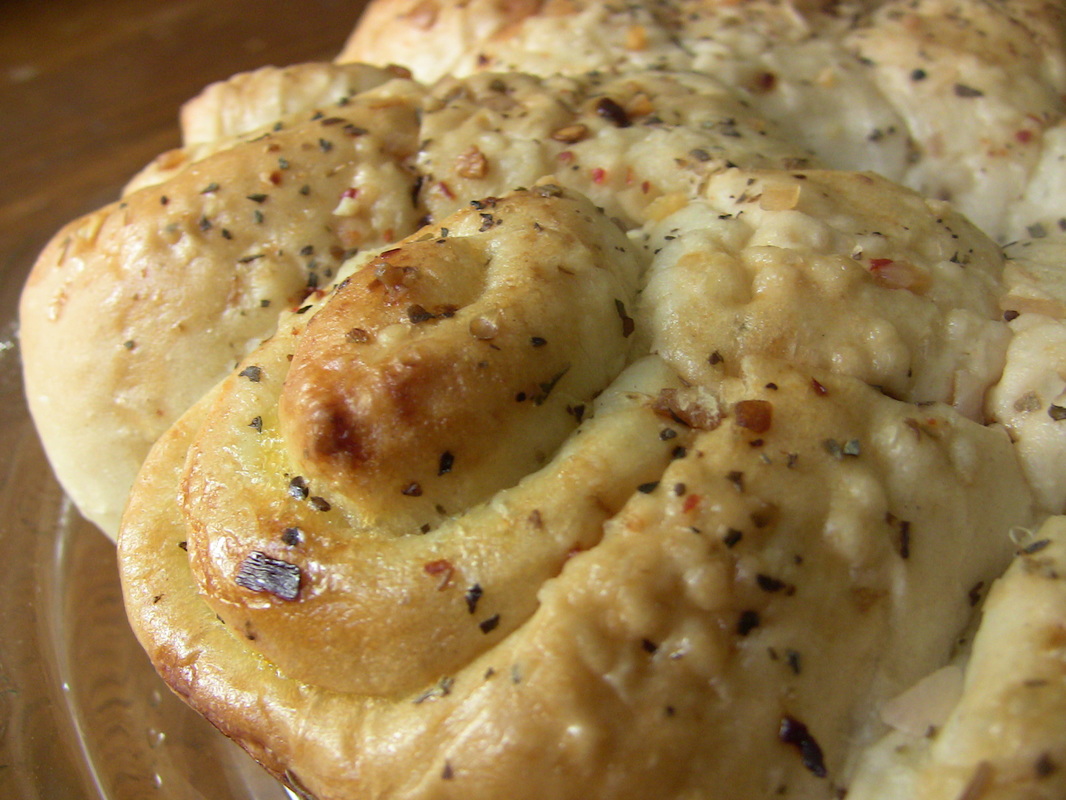
Read my book, One Season of Farmers Market, to see what I increased! Hey peeps! Only two and a half months left this season for the farmers market. I'm excited to tell you that our booth grossed $100 this week. SIL worked the market, while I stayed home and slept in (yay!). Hubs and I did some household stuff and then took a motorcycle ride, went for a hike and ate ice cream. New Products Because our apples are starting to come in, I decided to try making some pies. I didn't have lard on hand, so I used butter for the crust and it turned out very yummy. Pies are a little time-intensive, but they don't cost a lot to make because the fruit I'm using is from our own orchard. I sold one of the pies, and today we ate the other one. Oh. My. Goodness. It was amazing. My goat's milk soap was finally ready to sell! I did my best to package it in an attractive manner. Unfortunately we didn't sell any, but SIL told me a lot of people seemed interested. One lady asked if we had a "plain" bar, but so far I've used essential oils on all of the soaps. The Bottom Line Income Garlic bread: $15.00 Cookies: $10.50 Banana Bread: $2.50 Apple Pie: $7.50 Granola: $5.00 Marshmallows: $6.00 Total Income: $46.50 Expenses Booth: $4.00 Tent: $5.00 Costs of goods sold: $10.08 Total Expenses: $19.08 Total Profit: $27.42 Costs of goods not sold this week was $2.93 as follows: sugar cookies ($0.46), marshmallows ($0.25), applesauce bread ($0.55), apple pie ($1.47) and garlic bread ($0.20). It makes me happy that we didn't bring a lot of high-dollar items home this week. Sugar cookies were the only cookies that didn't sell this week, so even though I like them, I don't think I'll be taking any more to the market. Our total profit this week was $27.42. It doesn't sound like a lot, but remember my SILs also grossed a total of $53.50. My cost of ingredients are usually around 11%, so we can assume that they also netted almost $48.00. That would bring the total net earnings of the booth to $75.50. This is still within the $50-$150 range that I talked about in a previous post. And remember that technically I have already paid off my booth fees and tent, which I still count as expenses so as not to mess up my spreadsheets. :) I will be adding $36.42 to my sidebar total (total profits I have made this year at the farmers market). More Benefits of Being a Vendor In previous posts I've mentioned non-monetary benefits that come with selling at a market. Things like meeting new people, learning how to sell stuff in general, having an outlet to sell homemade stuff, and Hubs getting to eat more dessert. Another thing I realized this week is that I'm getting very good at making cookies. And fancy breads. And marshmallows. And hopefully over the next couple weeks I will get better at making pies. Under normal circumstances I would make a few pies per year- some at Christmas and some at Thanksgiving- but never enough to really get good at it. I'm excited about perfecting more baking skills in the next two months. Looking Back... And Forward
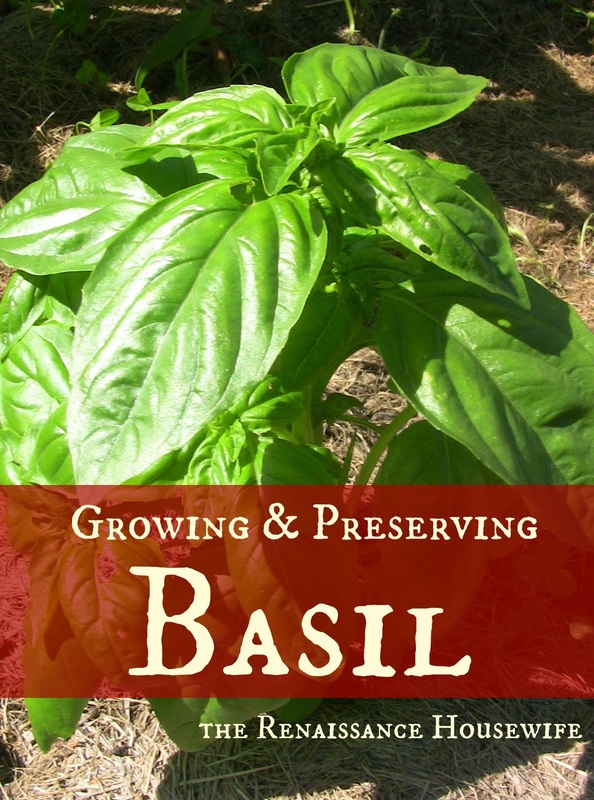
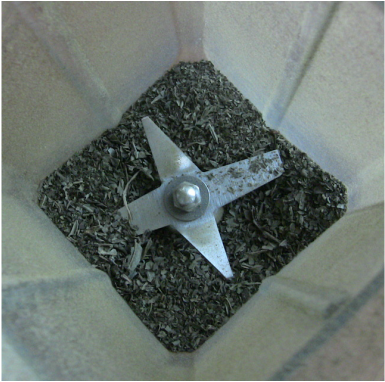
Monetarily, me doing the farmers market has been a financial bummer. Look at the sidebar- I've made a grand total of $143.07. If I steadily continue to make $30 per week, at the end of the season I will have made $443. Divided by 24 weeks, that makes $18.00 per week. If I'm working 10 hours per week making stuff (and in the beginning I worked MUCH more than that), that means I'm being paid $1.80 per hour for my effort. Fantastic! But remember, this is an experiment. Thankfully Hubs and I don't need more money, so I can afford to work for $1.80 per hour doing quite literal "market research". I can afford to make mistakes. What I was looking for before I started selling- and what I NEVER found- was a real analysis of profit and loss selling at a farmers market. So since I couldn't find it, I had to make it myself. But all this experimenting aside, consider this. If I take our average gross sales of $93.00 and remove 15% for costs (ingredients, booth & gas), we'd be making around $80.00 every Saturday. If we did that three weeks out of every month, at the end of the season we'd have $1440, which is over three times what I might make this year. It's still pitiful at $8.00 per hour (under minimum wage), but not quite making a total fool of yourself. Hey readers! YOUR suggestion could allow me to work for more than $2 per hour! If you have any ideas of things I could sell, please leave a comment. :D -Bethany Basil is one of my favorite herbs to grow. I use mine for pesto and also for flavoring Italian dishes. Growing Basil The most cost-effective way to grow basil is to start it from seed in the Spring. This is easy enough, but the seeds do take a little longer to germinate, so start early in February or March at the latest. After they sprout, the seedlings are fragile and will need to be watched carefully. Make sure they are not under- or over-watered. Seedlings can be transplanted into the garden after all danger of frost is over, or planted in a pot on the windowsill. From here on out, basil is a pretty easy keeper. It will take a few months to get a good-sized plant growing. In the garden, watch the basil for bugs, and also pinch out the top flower buds. This will allow your plant to bush out more, instead of growing tall and leggy and going to seed. Full-grown plants can also be cloned, or propagated with cuttings. Simply cut a 3-4" piece of stem above a pair of leaf nodes. Set the cutting in a jar of water and wait. After a couple weeks, you will see little roots growing out of the stem. These cuttings can also be replanted in the garden or a windowsill pot after they have grown a decent root system. Preservation I preserve my basil in two ways. You can either make pesto and freeze it in ice cube trays, them transfer the cubes into a plastic baggie (hint- you don't want the pesto exposed to air). This is the same process I use for freezing cilantro, which loses its flavor when dried. Basil, however, is an herb that CAN be dried as well. I usually thin out and pinch out the tops of my basil plants, then save the tops and thinned parts to dry. These parts are just set on a cookie sheet and put in my gas oven to dry for a day or so. You don't need to turn on a gas oven- the pilot light keeps it warm and dry enough to easily dry most herbs. After the basil is dry enough to crunch, I put it in my Vitamix Dry container to grind/powder it. I usually store my dried herbs in empty spice containers from Walmart.
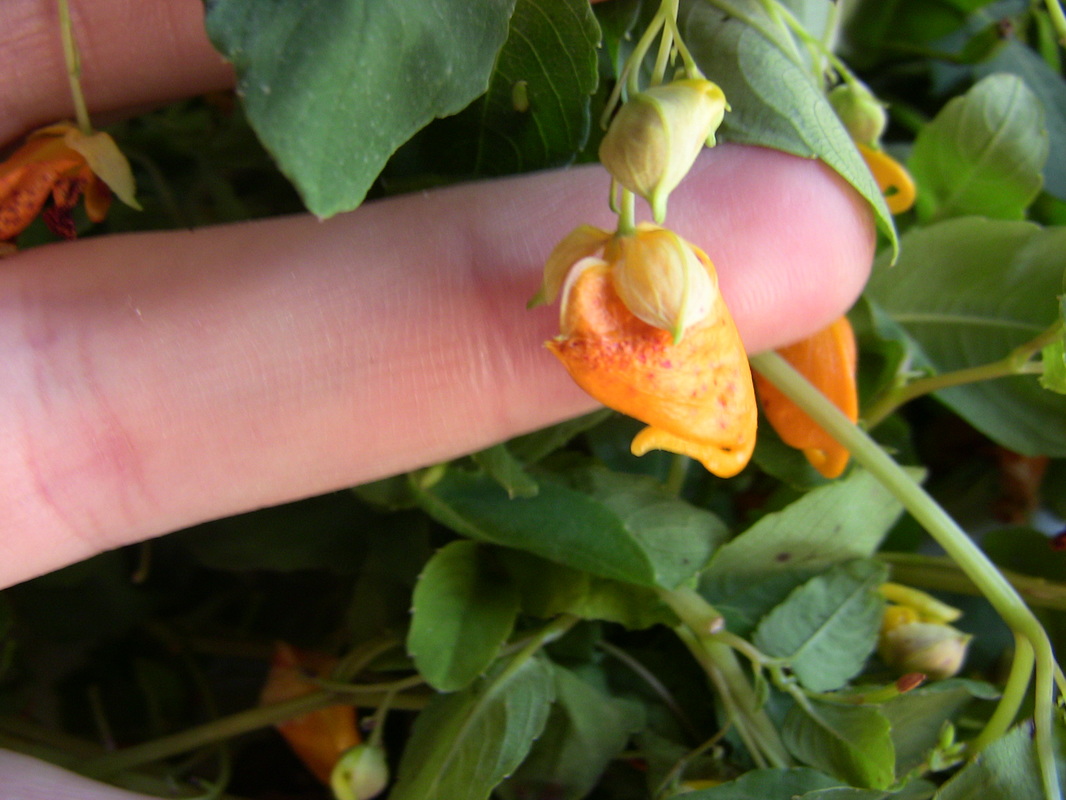
Do you grow basil? What is your favorite way to use it? Identification Jewelweed grows in wet, shady areas. If you find a bridge, you will probably find jewelweed, as it loves to grow beside creeks and streams. The plant is soft and flimsy with a translucent stem, and grows 2-5 feet tall. The leaves are 1"-4" long ovals with sharply toothed edges. It's unique tube flowers are probably the easiest identification. Flowers are about 1" long, yellow or orange depending on the species- an important nectar source for hummingbirds. Orange flowered plants are called "Spotted Touch-Me-Not" because the ripe seed pods explode when touched, throwing seeds in all directions. The yellow-flowered variety is also a Touch-Me-Not, but just a different variety. The name "jewelweed" is used because water droplets on the plant shine and sparkle like jewels. Here in Michigan the plant blossoms in July and August. Medicinal Use
Jewelweed is most commonly used to sooth poison ivy and stinging nettle irritations, but it is also used for bee stings and other skin problems. To use, any part of the plant can be crushed and rubbed on the irritated area. This works best BEFORE the rash appears. My herb book lists the orange variety, Impatiens capenisis, as a remedy for not only poison ivy, but also poison oak and poison sumac. In addition to using fresh leaves, you can also make a tea from 1 heaping teaspoon of dried leaves in a cup of hot water for 10 minutes, strain and cool. It makes more sense to me, however, to just use the fresh crushed plant. Edible Jewelweed is also a wild edible. The young shoots (up to six inches tall) can be boiled and eaten after removing the leaves. However, use caution because older plants can be a mild purgative (make you throw up). The plant is also high in minerals, so only small amounts should be eaten or it should be mixed with other vegetables. ***** White, Linda B. The Herbal Drugstore. United States of America: Rodale Inc., 2000. Print. Tekiela, Stan. Wildflowers of Michigan Field Guide. Cambridge, Minnesota: Adventure Publications, Inc., 2000. Print. Brown, Tom Jr. Tom Brown's Field Guide to Wilderness Survival. New York: Berkley Books, 1983. Print. We're officially halfway through the 2015 season! All that's left is August, September, and October.
This week was... To see how this week went, read my book; One Season at the Farmers Market. |
BethanyHousewife, happy wife, and mama to one. :) The Housewife's Guide to
Frugal Fruits and Vegetables No Garden? No Problem! Watch Meals From the Bunker:Check out my Youtube Channel!Categories
All
Archives
May 2021
I get cash back for many online purchases including wedding gifts and Ebay stuff!
|




 RSS Feed

