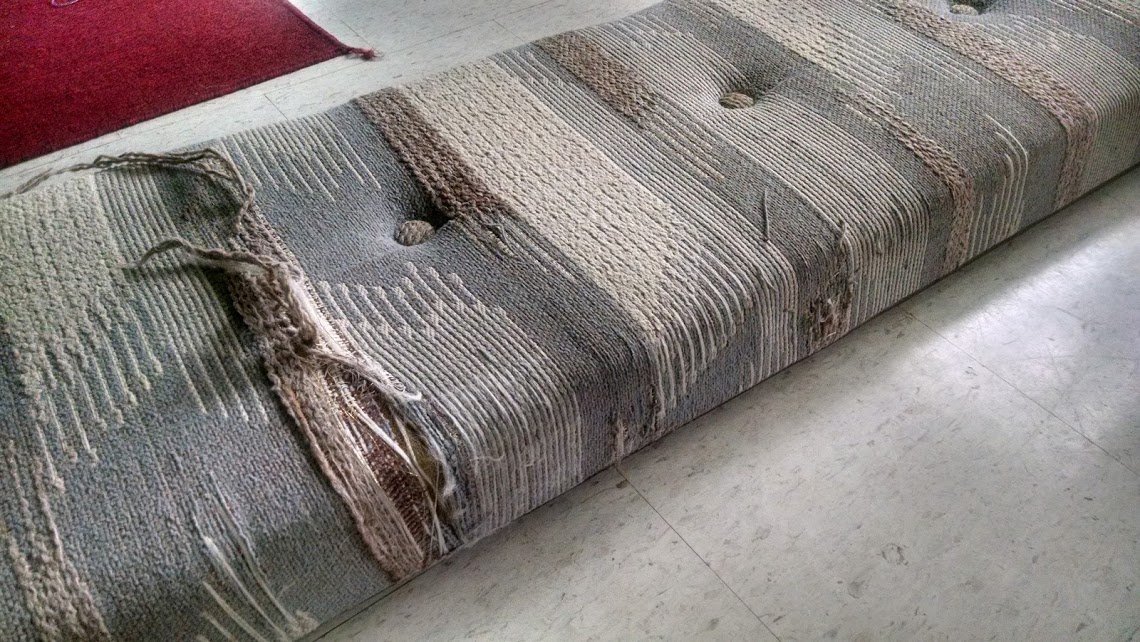
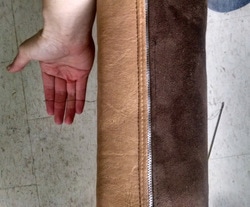
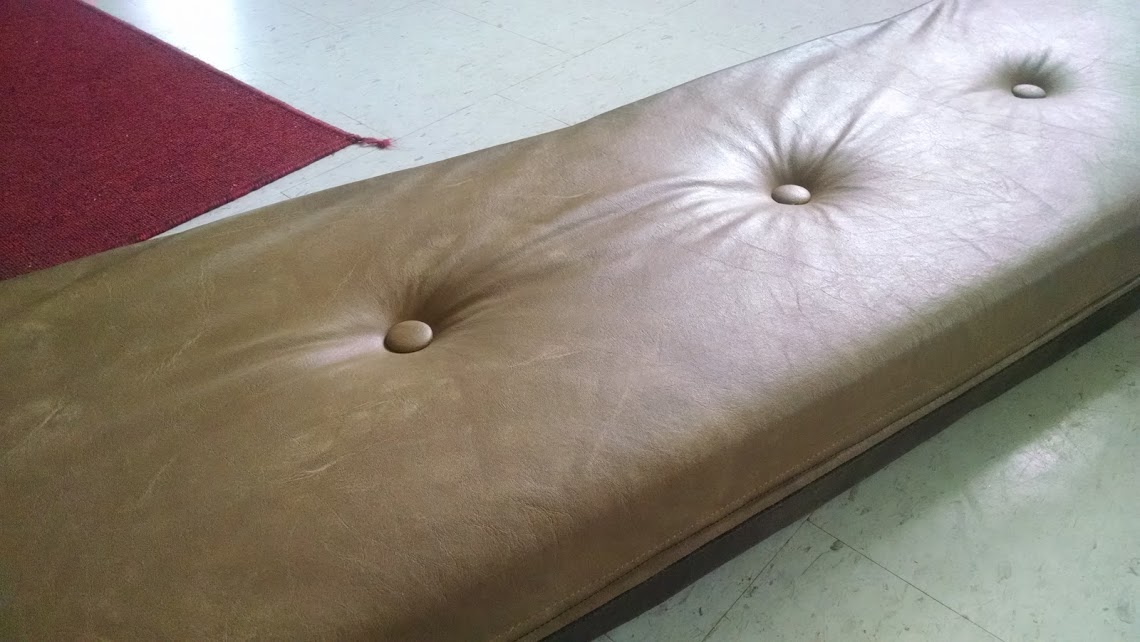
Today I'm going to show you how I reupholstered the cushions in our (new-to-us) old RV. The vehicle is 30+ years old and in bad need of a makeover. Most of the cushions were ragged and threadbare, like the one below:
Here are the basic steps I used:
1. Remove the buttons from both sides.
2. Pull the foam out of the "pillowcase".
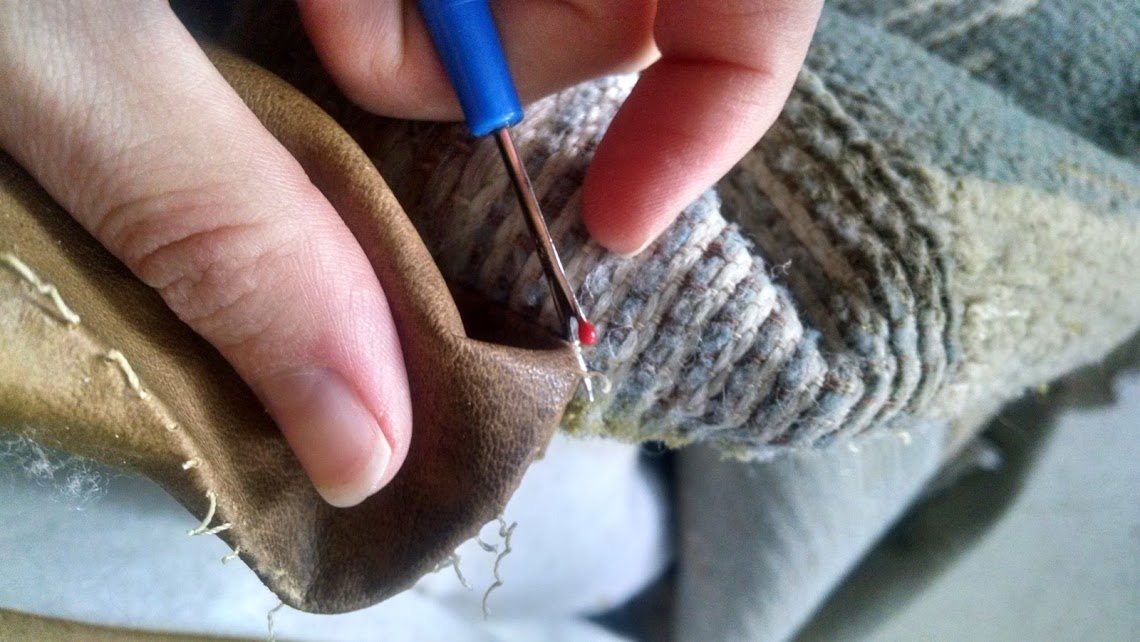
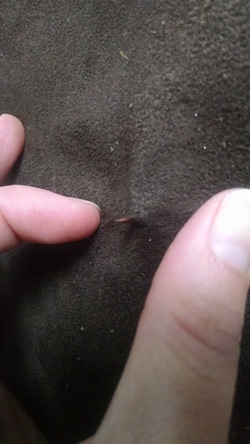
3. Proceed to take apart the "pillowcase". Be sure to save each piece and any notions. My cushions had two pieces (one carpet and one vinyl) and a zipper. If your cushions are vinyl, be careful not to rip holes in it when using the seam ripper. Also, don't let the zipper pull come off the end of the zipper. It is super hard to get back on!! In order to prevent the zipper pull from coming off, I hand-stitch around the metal part at each end.
1. Remove the buttons from both sides.
2. Pull the foam out of the "pillowcase".
3. Proceed to take apart the "pillowcase". Be sure to save each piece and any notions. My cushions had two pieces (one carpet and one vinyl) and a zipper. If your cushions are vinyl, be careful not to rip holes in it when using the seam ripper. Also, don't let the zipper pull come off the end of the zipper. It is super hard to get back on!! In order to prevent the zipper pull from coming off, I hand-stitch around the metal part at each end.
4. Lay out your new fabric, and using the old fabric as a pattern, cut new pieces. Sometimes it is helpful to use weights to hold the pattern piece down.

Make sure you cut a proper seam allowance if the fabric is folded over on one side like mine was.
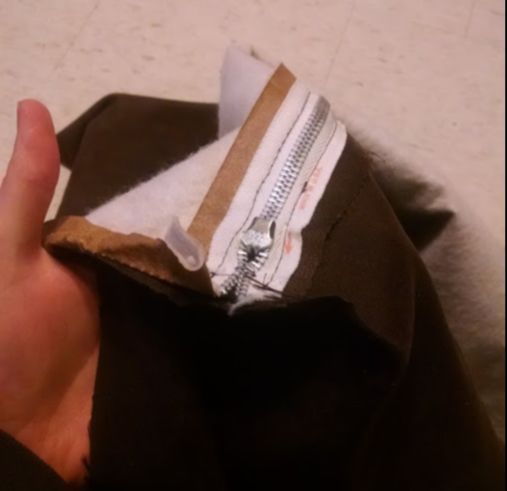
5. At this point, you are basically going to put the cushion back together like it was, using your new pattern pieces. This is a little hard to explain because each cushion will probably be different. Mine were a basic square shape, with one vinyl side and a zipper between the vinyl and suede on the long edge.
To put in the zipper, I sewed the vinyl and suede together on the proper side. Then I opened up the seam and sewed the zipper straight down the center of the seam (on the inside, but facing the zipper toward the fabric, not myself). When the zipper was sewed onto the seam, I flipped it over and ripped out that very first seam. This guaranteed that my zipper was sewn in straight.
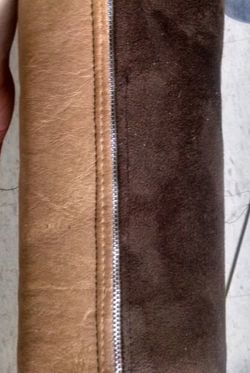
You can see here where my stitching was a little bit "off" from the original, but the zipper still came out straight.
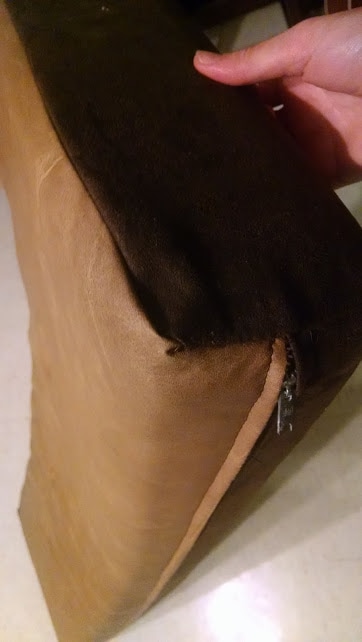
6. Once the cushion has been reassembled, try to stuff the foam back in. Check for any discrepancies or areas that just don't "look right". Note: until you are 100% satisfied, DON'T trim up any of the seams! You might want to use that extra room.
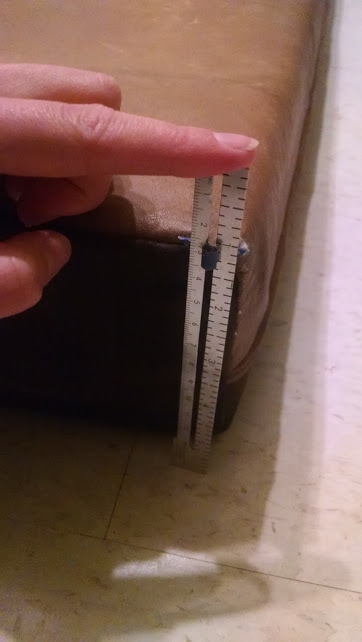 |  |
You can tell that the two edges above are not the same height. This probably happened because my original fabric (pattern) was stretched out on one side. If you are using the old foam (I was), it's okay to leave uneven edges as long as they fit the foam.
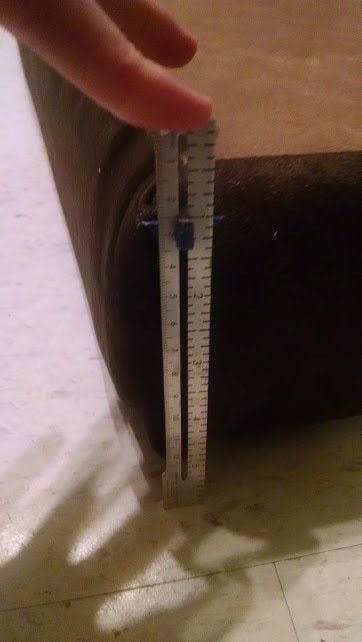
Too much fabric, not enough foam.
In the photo above, there was too much extra fabric in the corner. I took note of this before I made final adjustments to the cushion.
7. Make any needed adjustments, then put the cushion back in and zip it up. I tried not to take the foam in and out to often, or make too many adjustments, because I didn't want to damage the vinyl or the foam, which was being reused.
8. Now it's time to add the buttons! This was my favorite part.
7. Make any needed adjustments, then put the cushion back in and zip it up. I tried not to take the foam in and out to often, or make too many adjustments, because I didn't want to damage the vinyl or the foam, which was being reused.
8. Now it's time to add the buttons! This was my favorite part.
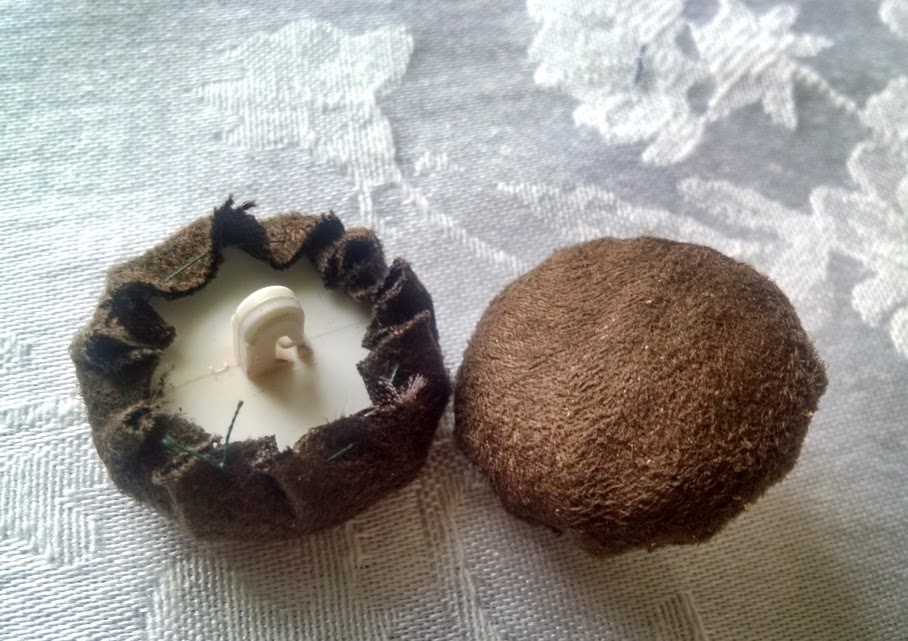 | 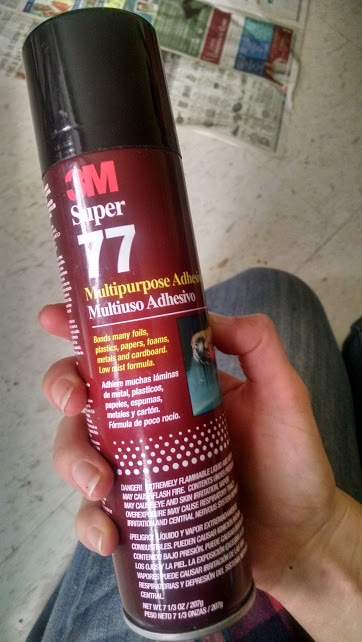 |
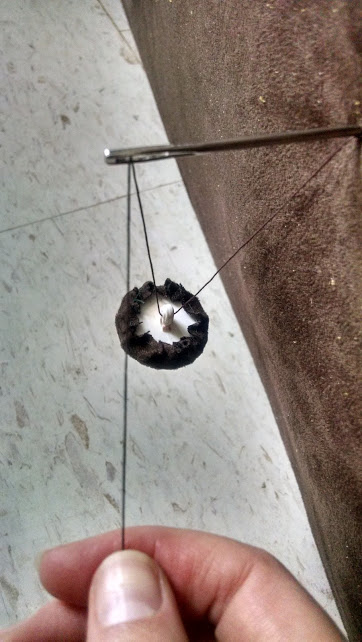
Recover any buttons if neccesary. To recover my buttons, I cut a circle of suede around each button with about 1/2" extra on the sides. Then I used Super 77 3M spray glue to fix the button in the very center of the circle. When the glue had dried, I hand-stitched large stitches around the edge of the circle and then pulled both ends. This is just like gathering fabric. Then I tied off the ends and had a finished, covered button.
So, there are actually several steps to #8. Recovering buttons was the first step. Then you'll want to get your upholstery needles and heavy-duty thread out.
So, there are actually several steps to #8. Recovering buttons was the first step. Then you'll want to get your upholstery needles and heavy-duty thread out.
Above is what the finished cushion looks like without buttons. You can tell that the top fabric is a little loose, and there are holes in the vinyl where the buttons were before. If you have vinyl cushions, use these original holes to avoid making more tears in the vinyl. If you are using non-plastic, brand-new fabric and foam, you can put the new buttons wherever you want. You can tell where the buttons were on used foam, so if you are re-using the foam, it will be best to put the buttons back where they were before.
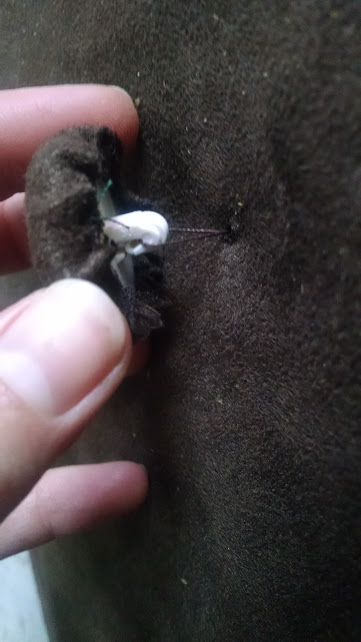
After my cushions were put back together, I poked the needle through the vinyl side first (using the old hole), and out through the suede side. This was HARD! I had to push really hard to get the needle to go through the suede, and then I had to pull and stretch the suede in order for the needle to wiggle its way through. In the end, I got it to go through.
Now, thread the button and push the needle right back where it came from, being careful to come back through the original vinyl hole (if you are using vinyl).
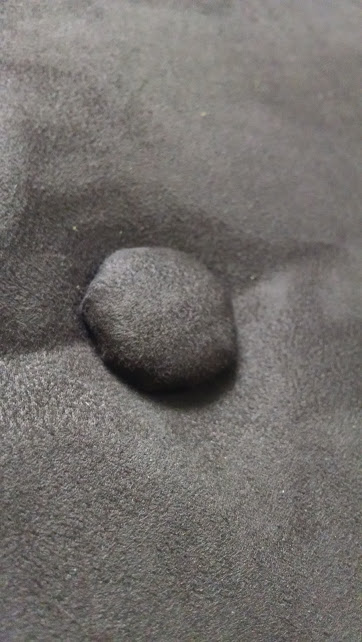
Pull the thread so the button is tight against the cushion.
 |  |
Lastly, thread the button on the other side and tie it down tight. If you pull the button(s) together tightly, they will stay without knotting. However, I always like to knot both ends of the thread with the knot being hidden under the button when you are done.
If you want more information on upholstery or attaching buttons, there are plenty of Youtube videos out there which are very helpful.
The end result of my effort, while not perfect, was very satisfying. Once the cushions are in the RV, all of those imperfect seams and lopsided corners will be hidden, and nobody will know the difference.
As far as frugality is concerned, this project was not free. I bought brand new (albeit couponed!) fabric from Joann's in the color and type that I wanted. The fabric cost about $90.00. We also bought new foam for two of the cushions, at $25.00 per cushion. We felt that those cushions were squashed enough to warrant the new foam, even with that hefty price tag.
Apart from reusing the zippers, vinyl, and foam in two of the cushions, we were able to salvage one of the squashed cushions by cutting it down and using it for reupholstering the RV bed (the bed was 3" foam as opposed to the 5" back seat cushions). That being said, I might still have to buy more fabric to finish the bed.
In order to frugalize the project even farther, we could have used free fabric to recover the cushions. However, I was being picky about the color and type.
I would not have reused the squashed foam, even to save money. If you are going through all the trouble to reupholster, you might have well have a NICE cushion instead of a nice-looking but nasty, uncomfortable cushion. One way to frugalize the foam would be to find a larger piece for free (you could use any old couch cushion), and cut it down to size.
Total cost for this project is/will be from $140.00-$170.00. That sounds expensive, but it will VASTLY improve the appearance of the interior, and new foam in the seat cushions will make the RV more livable and fun to travel in. It will feel less like 1986 and more like 2017.
Til next time,
-Bethany


 RSS Feed